


AR Sponsor

Posted: 7/11/2026 1:21:27 PM EDT
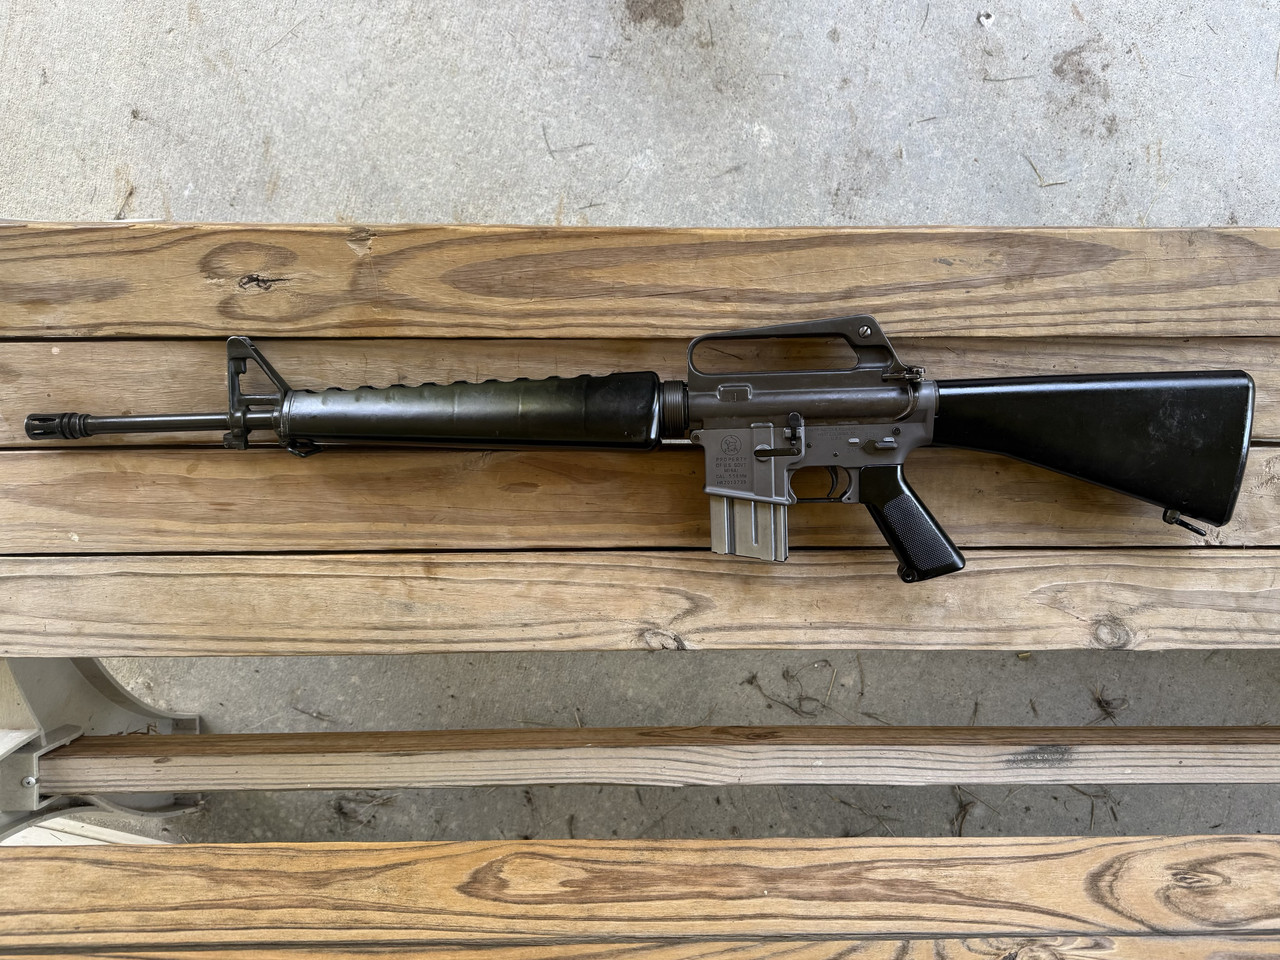
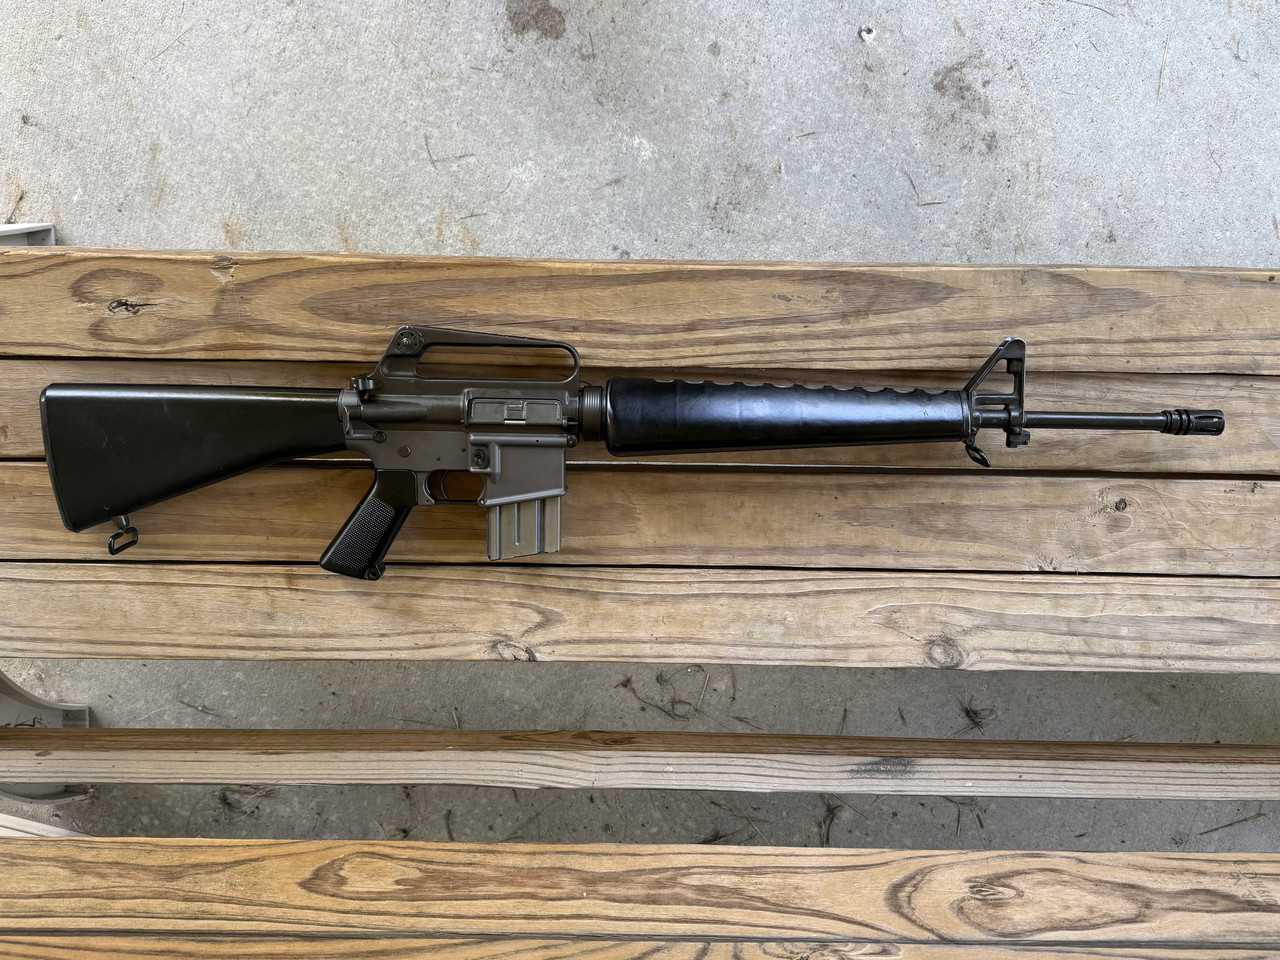
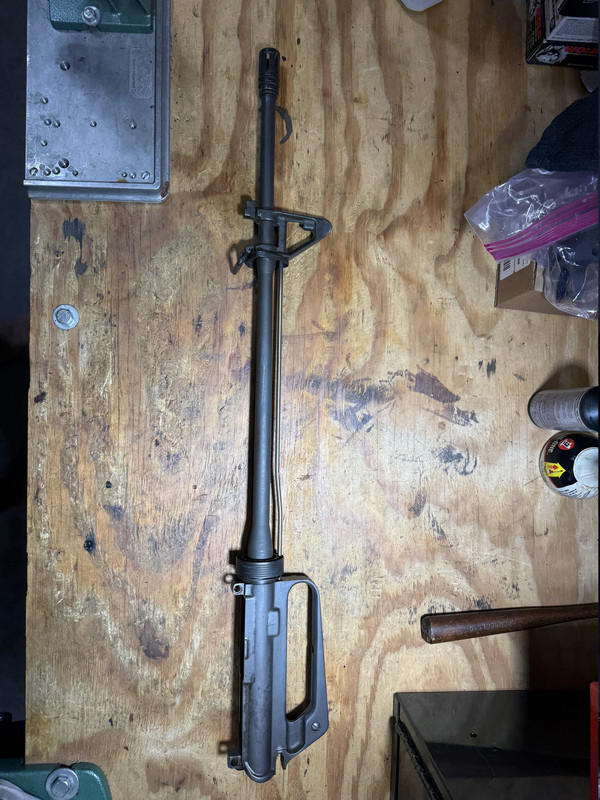
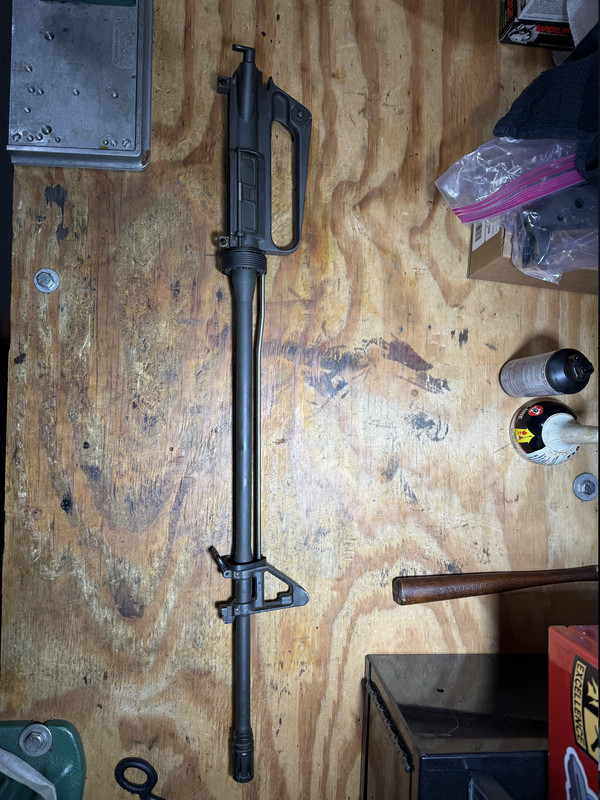
This is supposedly a USGI H&R M16A1 kit I just got assembled on a modern H&R lower. I’ve included pics for your perusal. Can anyone confirm these are USGI H&R parts and how you can tell one way or the other? The pics are thumbnails and should expand when clicked.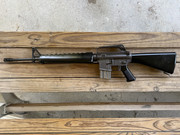 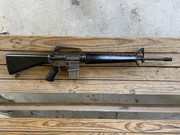 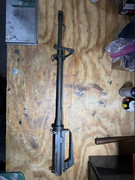 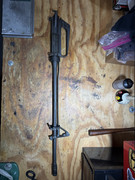 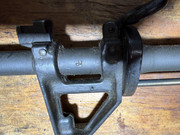 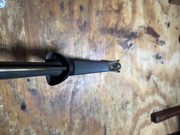 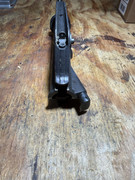 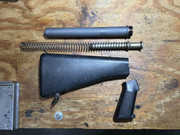 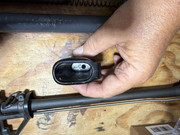 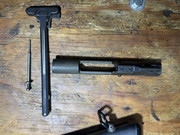 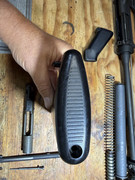 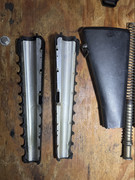 |


Nothing lasts forever but the earth and sky
Joined:
Dec 2000
Posts:
10728
EE: 100% (204)
 USA
USA

|
A free account here has worked for me. https://postimages.org https://postimages.org/ |
|
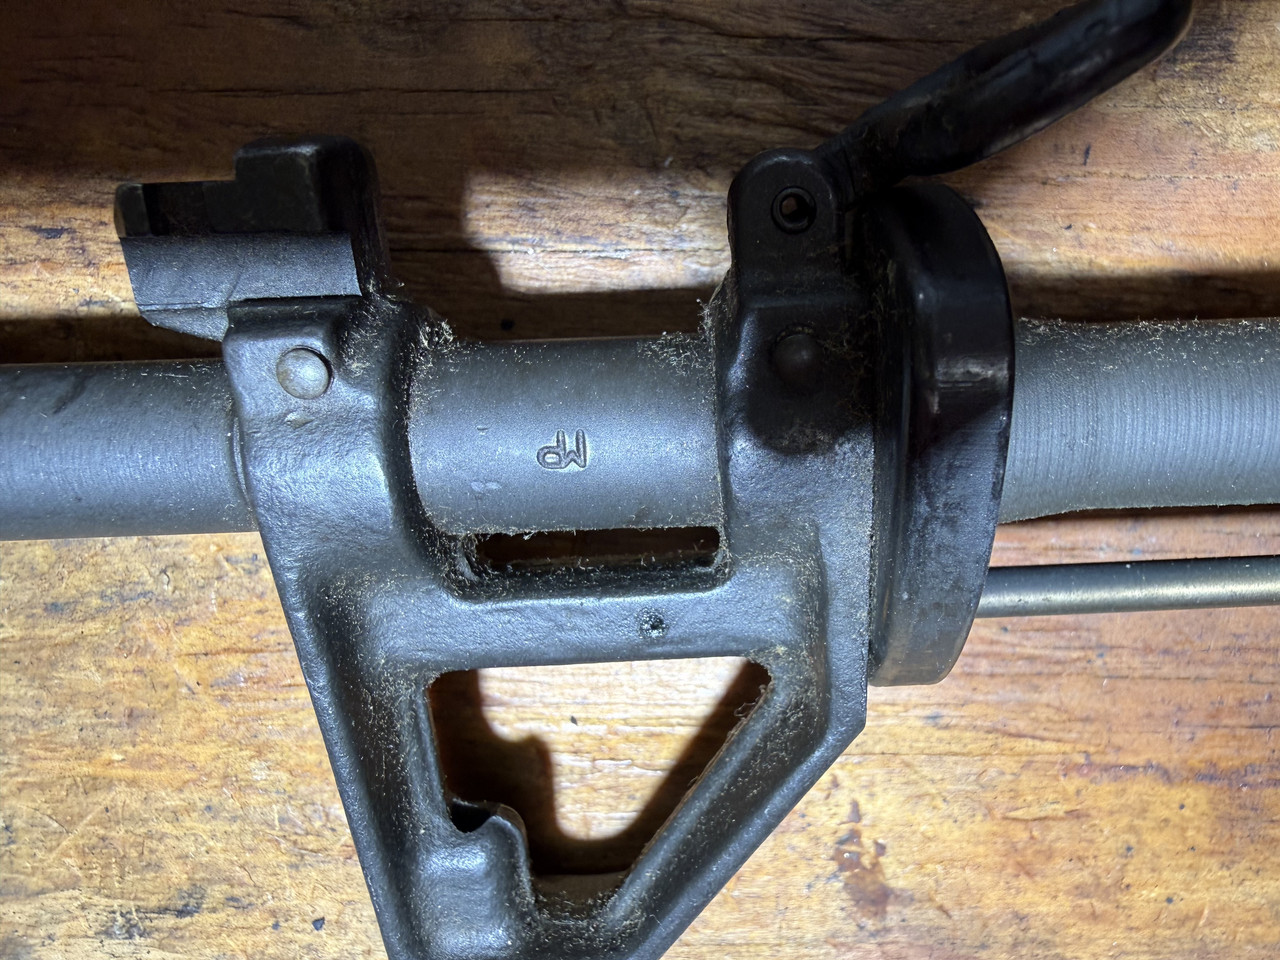
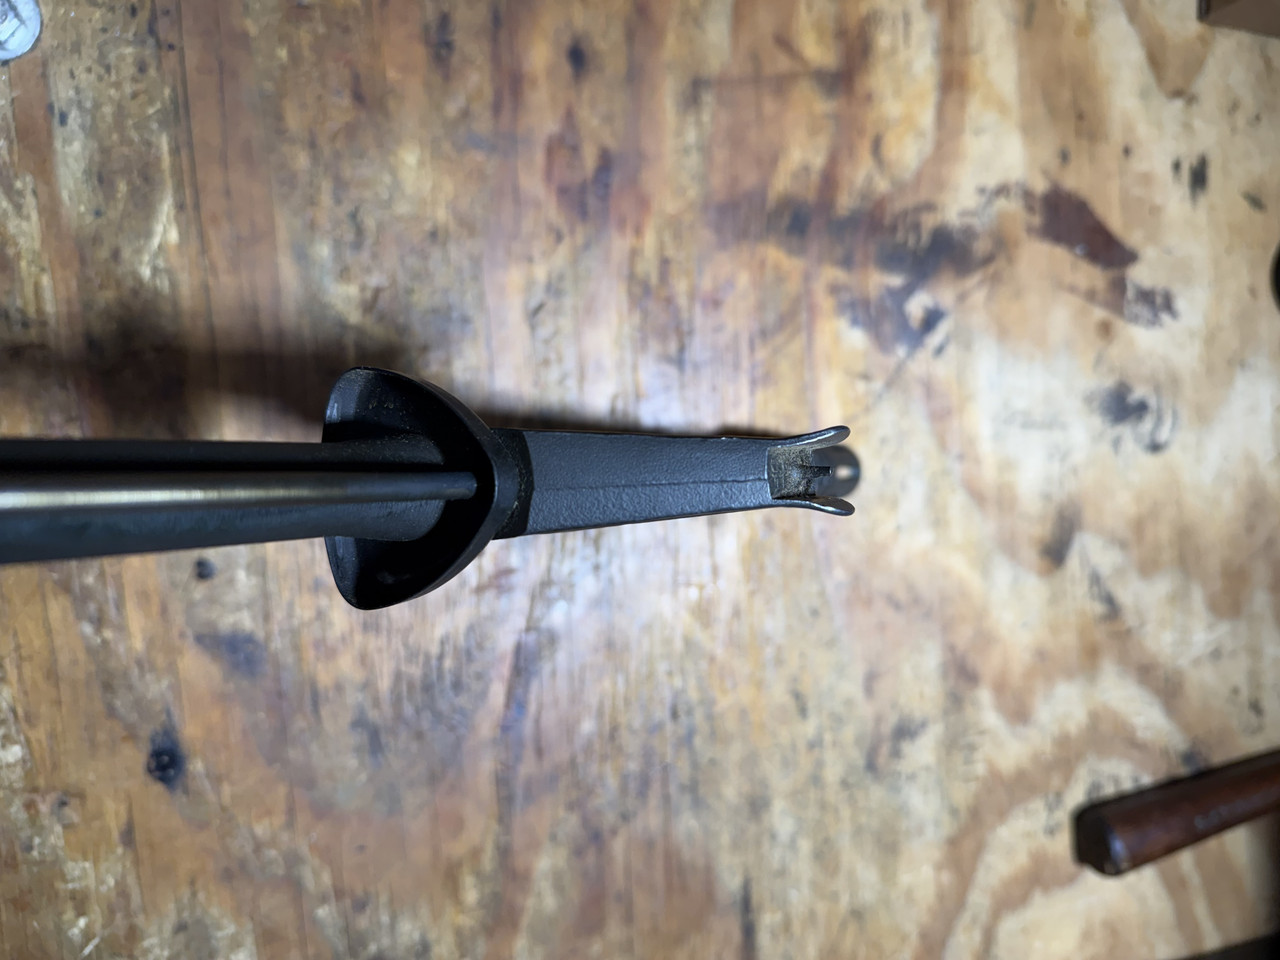
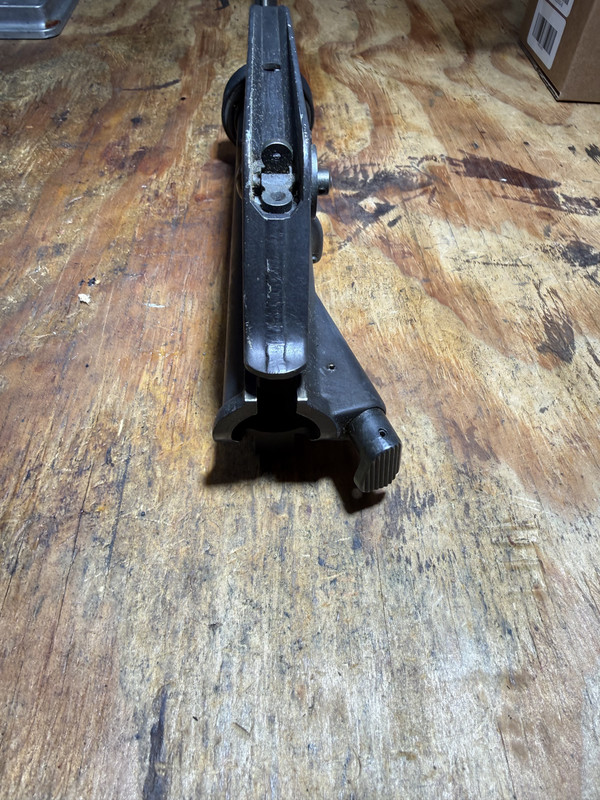
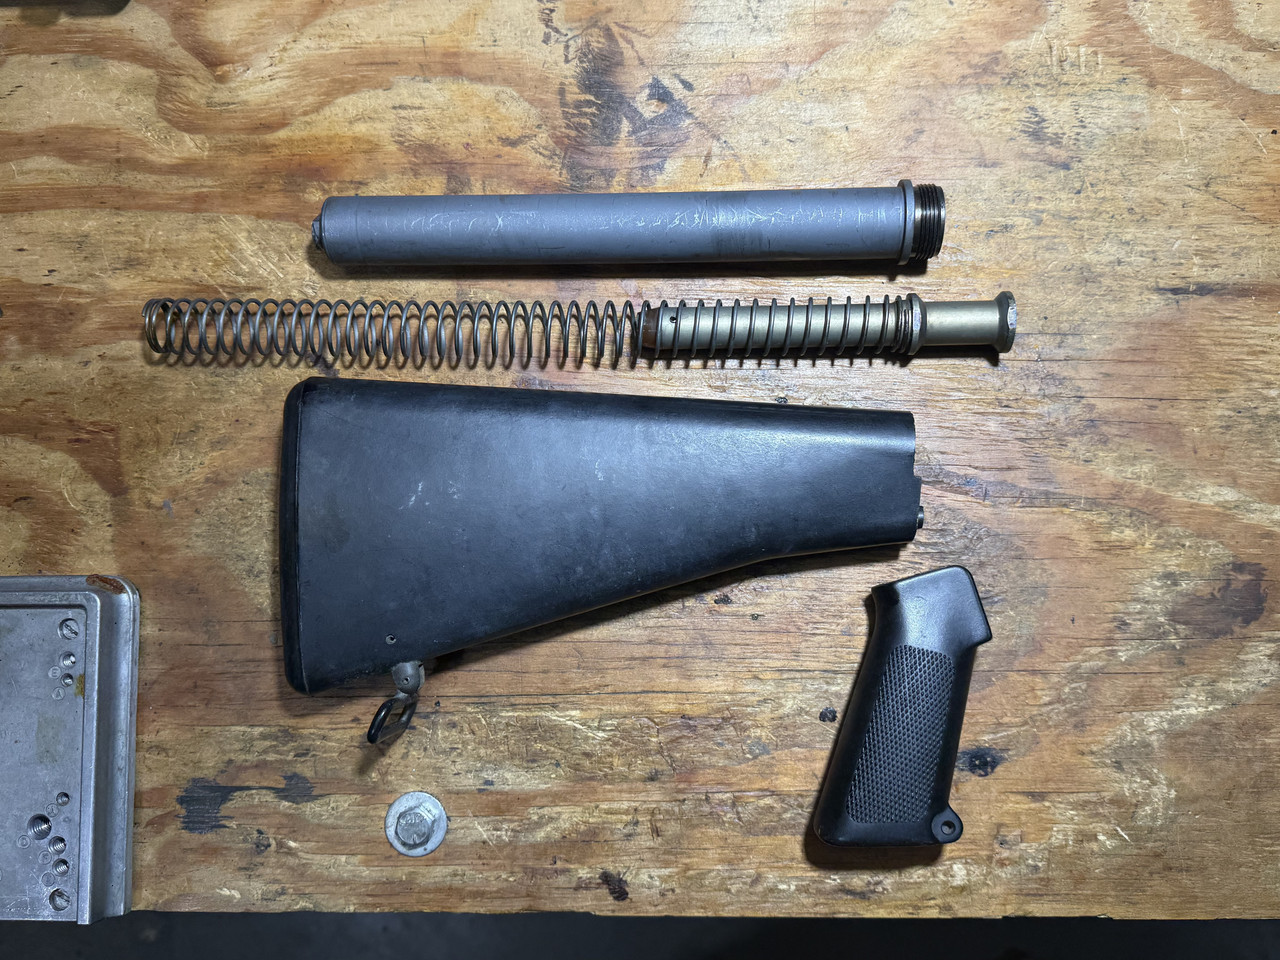
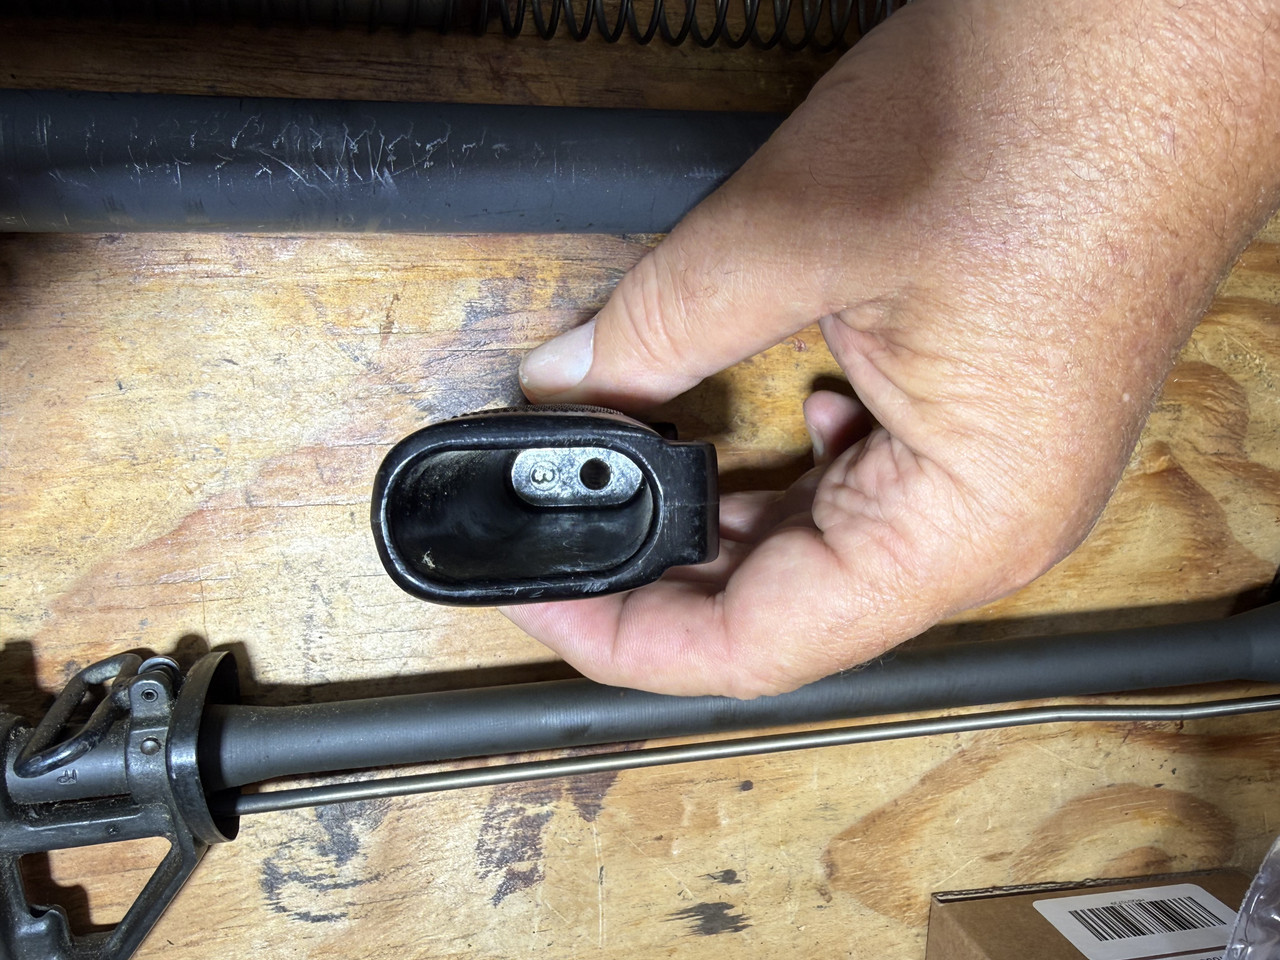
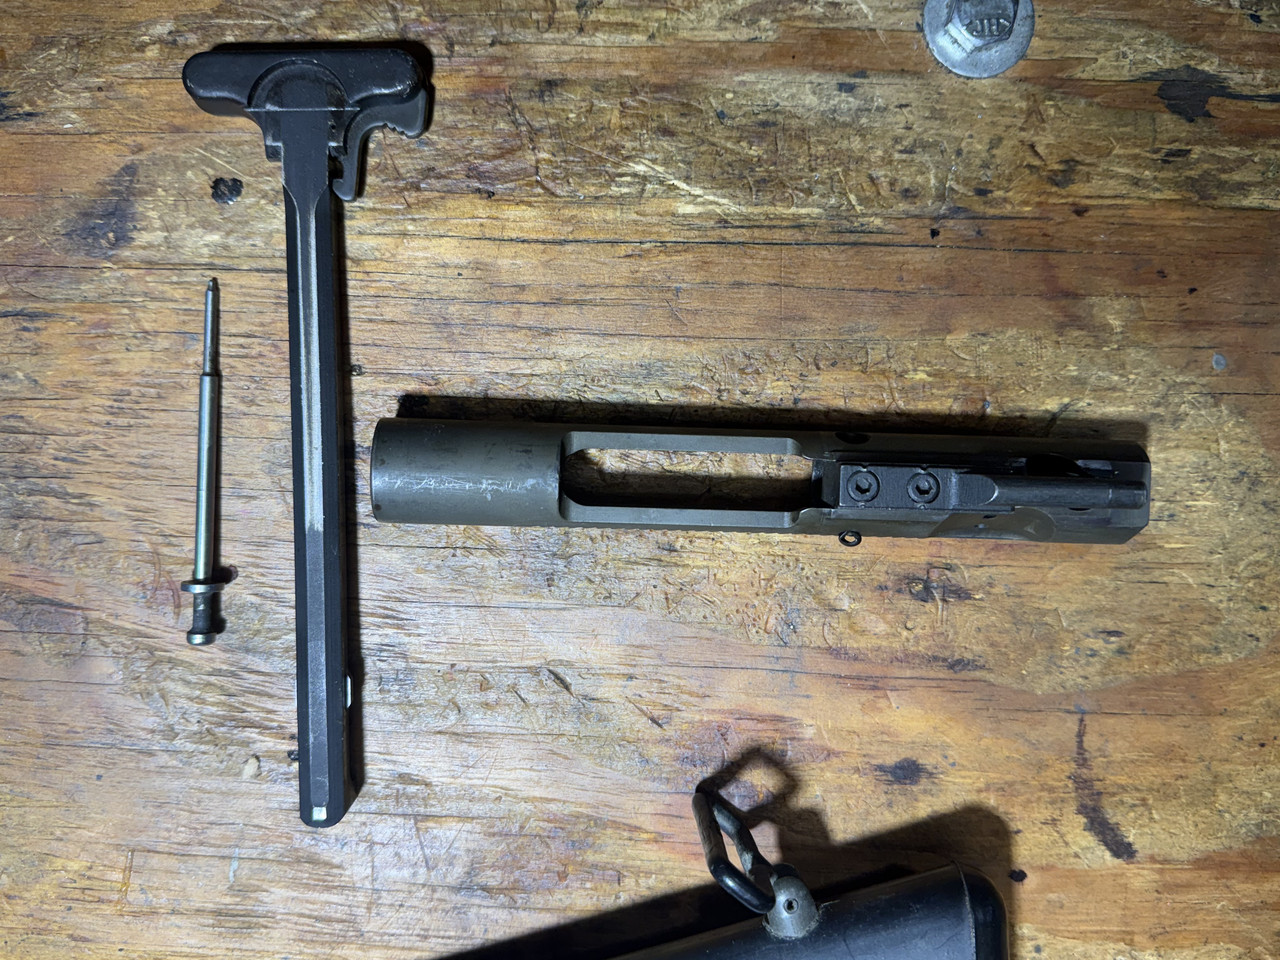
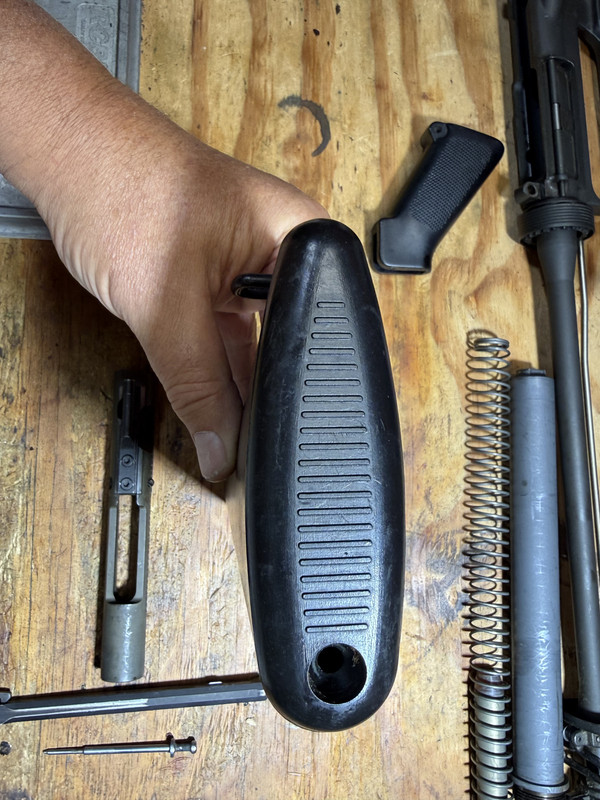
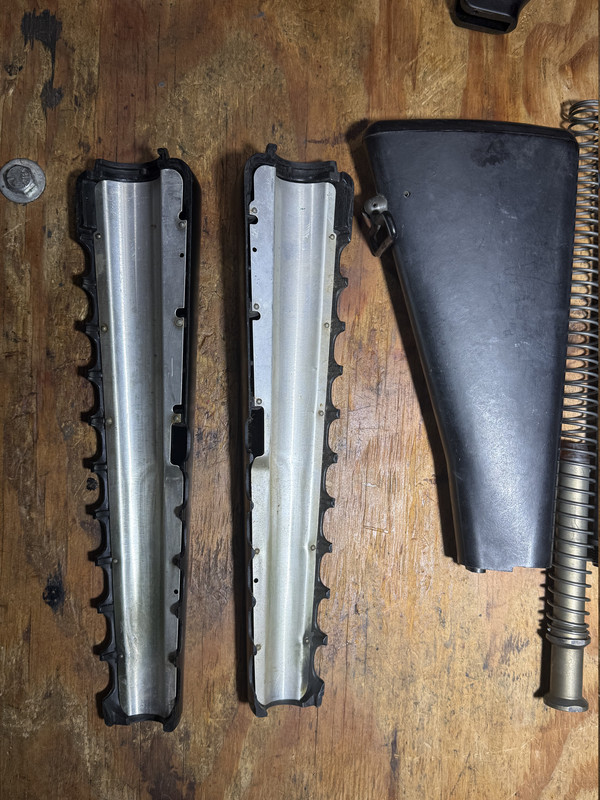
Hello Tigerhound. Can you post a pic of the front of the carry handle? I want to see the tool marks there if there are any. (It will be interesting if there is forging flash on the front like there is on the back of the carry handle) Edit A little more info, things that make it look like it could be H&R parts / a mix of parts including H&R parts: The upper receiver has rear forging flash, pistol grip has what I call "number in circle" mold mark in side the handle and the checkering is more spaced out than other grips, barrel is marked "MP" between the FSB legs, FSB has forging flash. Things that will help us identify what you have: Are there proof marks in front and above the port door? Does the upper receiver have dark lugs? Is there a "C" stamped on the bottom of the barrel a few inches behind the flash hider? Is the bolt marked with a saimesed "MP" (I forget which orientation is for GM and which is for H&R) What is the story behind this parts kit? In the tacked GM thread we were able to get pictures of a fully assembled GM rifle before it was disassembled for a parts kit so we are a little more certain the group of parts are original / original to each other. If everything you have is from a H&R it might be a nice opportunity to get close-ups of some unknown (to me) details and tool marks. Here are links to some similar looking upper receivers on the tacked GM / H&R thread: https://www.ar15.com/forums/ar-15/GM-or-HandR-upper-assembly-an-old-and-somewhat-confusing-subject-/123-584919/?page=2#i6964399 (same page as above, next post down) Be sure and compare the font / script stamped in your FSB and let us know what you find / post a picture. https://www.ar15.com/forums/ar-15/GM-or-HandR-upper-assembly-an-old-and-somewhat-confusing-subject-/123-584919/?page=2#i7181770 Thanks for posting this, even if what you have is a mix of parts from different manufacturers it is a nice looking rifle made with a no forge code upper receiver. :) Originally Posted By tigerhound: This is supposedly a USGI H&R M16A1 kit I just got assembled on a modern H&R lower. I’ve included pics for your perusal. Can anyone confirm these are USGI H&R parts and how you can tell one way or the other? The pics are thumbnails and should expand when clicked. https://i.postimg.cc/rzRyW7zz/Full-Size-Render.jpg https://i.postimg.cc/z3HDW43y/Full-Size-Render.jpg https://i.postimg.cc/sQqVq4HS/IMG-3807.jpg https://i.postimg.cc/0KS8sKhD/IMG-3808.jpg https://i.postimg.cc/p5j2H53n/IMG-3809.jpg https://i.postimg.cc/4HcJgHjH/IMG-3810.jpg https://i.postimg.cc/sGWVrGbh/IMG-3811.jpg https://i.postimg.cc/QK7X3Kv0/IMG-3812.jpg https://i.postimg.cc/ct3sStPD/IMG-3813.jpg https://i.postimg.cc/tn6Xjn8m/IMG-3814.jpg https://i.postimg.cc/ct3sStP2/IMG-3815.jpg https://i.postimg.cc/Cn8FgnWp/IMG-3817.jpg |
|
Thanks somebob. I hadn’t found the tacked thread. Very helpful. I’ll have to wait until tomorrow to look and answer some of your questions. I’ll attach a pic of the view of the front of the receiver you asked about. What are you thinking the front flashing will tell you? I love this part of the hobby. M1 Garands is my comfort zone. Doing online research on H&R, I found the front lug of the upper where the connecting pin goes, is flat. On the barrel, there is an upside down MP between front sight legs. It’s on the right side. Again while researching, I looked for and found the “C” stamped on the bottom end of the barrel. I had missed it earlier. 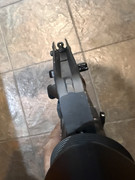
|
|
Ok, that is forging flash on the front of the receiver. I'm just some guy on the Internet, but I think others that participate here with years of experience handling real retro rifles won't commit to saying "All H&Rs have forging flash front and rear" but forging flash front and rear certainly makes your upper uncommon and cool. What you have shown us looks very interesting and is worth a proper photo shoot preferably out in sunlight so we can see all the details. Could you do that for us? :) If so, try just take pictures like I have done and like user MrM1A1 has taken in the tacked GM / H&R thread. If that is a complete original H&R barreled upper I'd be interested in seeing: Front sight block, any forge marks? Barrel, is the "C" index 90 degrees below the "MP"? (they are not inline if you drew a line from the MP to the barrel tip) Bolt carrier, pics of each side showing tool marks Flash hider, tool marks on the wrench flats (some have circular mill marks, others have straight metal shaper marks) Charging handle, tool marks on the top / bottom of the area just inside what protrudes out the receiver Charging handle, tool marks from deburring action along the lower edge port door side where you grab it Charging handle, tool marks along the back face Hand guards, any mold marks on the inside? Others have marks along the bottom rear edge almost hidden by the heat shields Stock, any mold marks where it meets up with the lower receiver? Rear sight, any mold marks cast in it? (letters, numbers, symbols?) That's all I can think of right now, I don't think about this stuff that much any more. :) Originally Posted By tigerhound: Thanks somebob. I hadn’t found the tacked thread. Very helpful. I’ll have to wait until tomorrow to look and answer some of your questions. I’ll attach a pic of the view of the front of the receiver you asked about. What are you thinking the front flashing will tell you? I love this part of the hobby. M1 Garands is my comfort zone. Doing online research on H&R, I found the front lug of the upper where the connecting pin goes, is flat. On the barrel, there is an upside down MP between front sight legs. It’s on the right side. Again while researching, I looked for and found the “C” stamped on the bottom end of the barrel. I had missed it earlier. https://i.postimg.cc/4HXxs4v7/IMG-3822.jpg |
|
one thing you can do to get the lighter matte grey lower to match the 1960s semi gloss darker grey upper is coating the lower in oil and heating it in an oven or toaster very slowly and carefully until all the oil is fully dried like cement. it works. ive asked owners of old sp1 rifles how their finish got to look so cool like that and one guy told me ''my dad oiled it all over and put it away in his basement in the 1960s and it did that over time, no one else did anything to it'' nearly the exact qoute a guy gave me when i asked. ive seen it a lot on old surplus parts and was able to copy it using a spare toaster oven to speed up the drying process. dont use an old used toaster oven as it adds evaporated food grease and messes up the drying process. you have to go buy a brand new cheap toaster oven and have patience but its worth the effort when you finally get it right. once it looks fully dry keep baking it then let it air dry 2 days or more just to be sure. the end result will stay put like cement even when you oil the gun inside and out. it becomes an actual finish over the anodized finish. it really is like some sort of clear gloss tinted cement. |
|
Originally Posted By AK47_COMMBLOC: one thing you can do to get the lighter matte grey lower to match the 1960s semi gloss darker grey upper is coating the lower in oil and heating it in an oven or toaster very slowly and carefully until all the oil is fully dried like cement. it works. ive asked owners of old sp1 rifles how their finish got to look so cool like that and one guy told me ''my dad oiled it all over and put it away in his basement in the 1960s and it did that over time, no one else did anything to it'' nearly the exact qoute a guy gave me when i asked. ive seen it a lot on old surplus parts and was able to copy it using a spare toaster oven to speed up the drying process. dont use an old used toaster oven as it adds evaporated food grease and messes up the drying process. you have to go buy a brand new cheap toaster oven and have patience but its worth the effort when you finally get it right. once it looks fully dry keep baking it then let it air dry 2 days or more just to be sure. the end result will stay put like cement even when you oil the gun inside and out. it becomes an actual finish over the anodized finish. it really is like some sort of clear gloss tinted cement. I think I'll try this on an H&R upper and lower I have that look blue. At least they match pretty close. |
AR Sponsor