


Armory Sponsor

Sponge Camo Tutorial (Page 7 of 10)

|
Originally Posted By guns762:
Something I discovered after this weekends painting was that the sponges work better if they have dried paint on them, making them stiff. My used sponges from the morning spotting scope painting, worked much better in the evening on the rifle because they were so stiff. It creates more intricate detail in the markings, and less blotchyness. It's easier to get varied amounts of paint, and size of markings. http://<a href=http://farm4.staticflickr.com/3738/10909797454_00e7fa0856_b.jpg</a> image by guns762, on Flickr" /> http://<a href=http://farm4.staticflickr.com/3698/10909798614_65e77935b6_b.jpg</a> image by guns762, on Flickr" /> This is sooooooo sick. I'd like to do mine similar to this. Was this coated prior to the sponging? Or is it all spray paint? Also, what colors? It looks black but also like it could be OD green. |


|
Originally Posted By EagleArmsHBAR:
http://i247.photobucket.com/albums/gg141/dab969/image_zps2156aea9.jpg http://i247.photobucket.com/albums/gg141/dab969/image_zpsda845978.jpg Nice! What colors did you use? |


|
Originally Posted By TX_Road_Warrior:
<a href="http://s1209.photobucket.com/user/bmob357/media/Snapbucket/A19BC16A-orig_zpsc2a2d4eb.jpg.html" target="_blank">http://i1209.photobucket.com/albums/cc394/bmob357/Snapbucket/A19BC16A-orig_zpsc2a2d4eb.jpg</a> Here's my first attempt. I like. Turned out pretty good if I do say so myself. 
I like it. Is it me or are those little skulls on there? |
|
Ori. nally Posted By big-Al:
I like it. Is it me or are those little skulls on there? Ori. nally Posted By big-Al:
Originally Posted By TX_Road_Warrior:
<a href="http://s1209.photobucket.com/user/bmob357/media/Snapbucket/A19BC16A-orig_zpsc2a2d4eb.jpg.html" target="_blank">http://i1209.photobucket.com/albums/cc394/bmob357/Snapbucket/A19BC16A-orig_zpsc2a2d4eb.jpg</a> Here's my first attempt. I like. Turned out pretty good if I do say so myself.
I like it. Is it me or are those little skulls on there? Its you. No skulls. |


|
Originally Posted By SSgt82-02:
Has anyone tried the sponging technique with Brownells Aluma-Hyde II ? It's all I've used. Once cured, it's very durable. |
"Every normal man must be tempted at times to spit on his hands, hoist the black flag, and begin to slit throats."--H.L. Mencken


|
Originally Posted By jrn156:
<a href="http://s647.photobucket.com/user/jrn156/media/324ae342-d46d-4744-9062-92390593d8dc.jpg.html" target="_blank">http://i647.photobucket.com/albums/uu198/jrn156/324ae342-d46d-4744-9062-92390593d8dc.jpg</a> <a href="http://s647.photobucket.com/user/jrn156/media/bcbc895c-4742-4048-aa7a-ed375011dce9.jpg.html" target="_blank">http://i647.photobucket.com/albums/uu198/jrn156/bcbc895c-4742-4048-aa7a-ed375011dce9.jpg</a> <a href="http://s647.photobucket.com/user/jrn156/media/c59b3f7b-168b-4b4b-8cd9-e7962978d0e8.jpg.html" target="_blank">http://i647.photobucket.com/albums/uu198/jrn156/c59b3f7b-168b-4b4b-8cd9-e7962978d0e8.jpg</a> ATACS Duracoat FDE with rattlecan sponge camo love it. How did you do this and what colors did you use? Thanks |

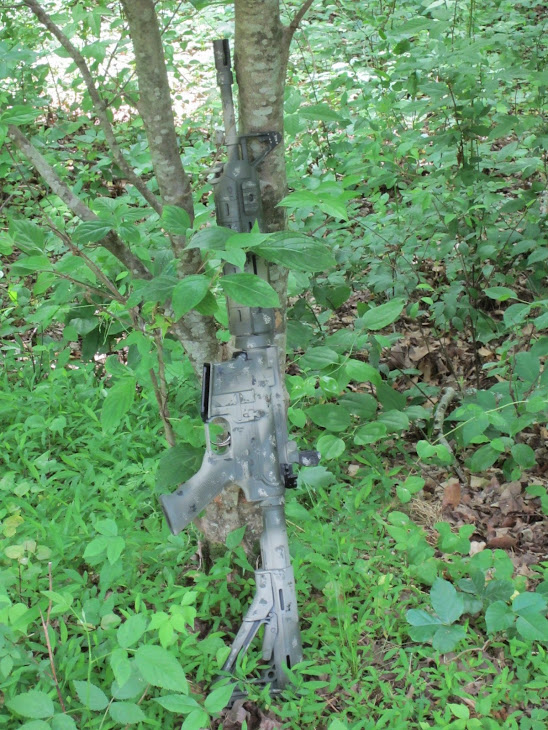
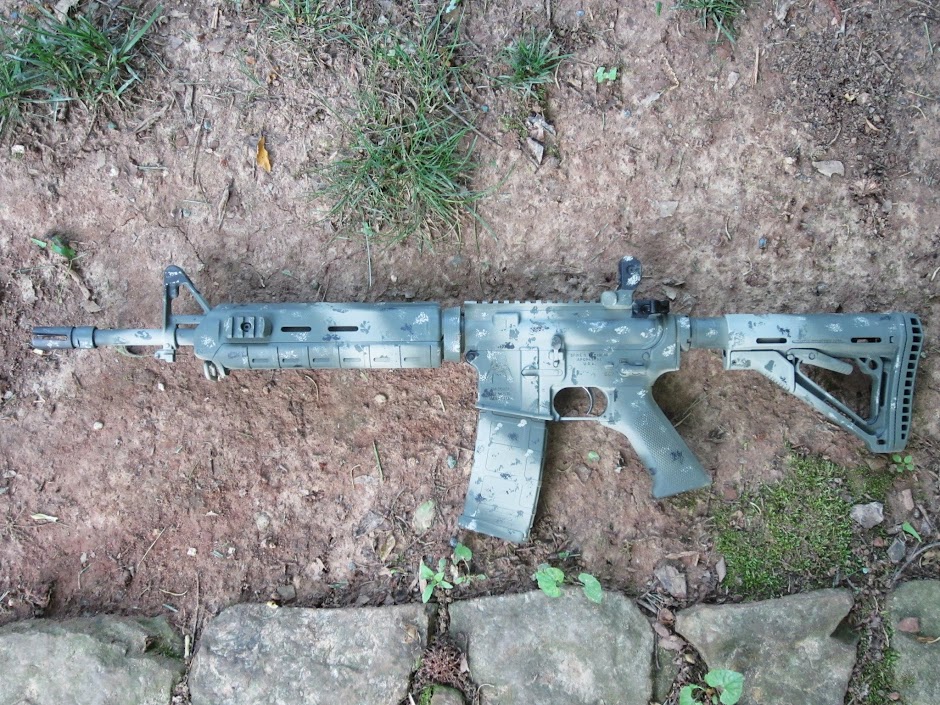
|
By far my favorite paint job. Do you remember which colors you used? |
|
Originally Posted By the_fallguy:
By far my favorite paint job. Do you remember which colors you used? Originally Posted By the_fallguy:
By far my favorite paint job. Do you remember which colors you used? Thanks. It really blends in with the fall colors and i think it will blend in ok in the summer. I used Aervoe paint that i got from DSG Arms. The base coat is ''Urban Tan 1078'' and i used a sea sponge from Walmart to apply ''Black 1077'' , ''Earth Brown 999'' and ''Olive Drab 987A''. I used Non-Chlorinated Brakleen and Kleen Srip Prep-All on all the parts to clean them and on the plastic parts i used Dupli-Color Adhesion Promoter. My build thread 
|


|
Originally Posted By ChrisTheNom:
This is sooooooo sick. I'd like to do mine similar to this. Was this coated prior to the sponging? Or is it all spray paint? Also, what colors? It looks black but also like it could be OD green. Originally Posted By ChrisTheNom:
Originally Posted By guns762:
Something I discovered after this weekends painting was that the sponges work better if they have dried paint on them, making them stiff. My used sponges from the morning spotting scope painting, worked much better in the evening on the rifle because they were so stiff. It creates more intricate detail in the markings, and less blotchyness. It's easier to get varied amounts of paint, and size of markings. http://<a href=http://farm4.staticflickr.com/3738/10909797454_00e7fa0856_b.jpg</a> image by guns762, on Flickr" /> http://<a href=http://farm4.staticflickr.com/3698/10909798614_65e77935b6_b.jpg</a> image by guns762, on Flickr" /> This is sooooooo sick. I'd like to do mine similar to this. Was this coated prior to the sponging? Or is it all spray paint? Also, what colors? It looks black but also like it could be OD green. Sorry, I didn't see this six months ago. 
No coating prior to painting. It's Alumahyde-Hyde II. Colors are, black, dark earth, coyote, and desert tan. |
"Every normal man must be tempted at times to spit on his hands, hoist the black flag, and begin to slit throats."--H.L. Mencken
New paint jobs using the colors I posted above. These are desert colors, but seem to look good just about everywhere.
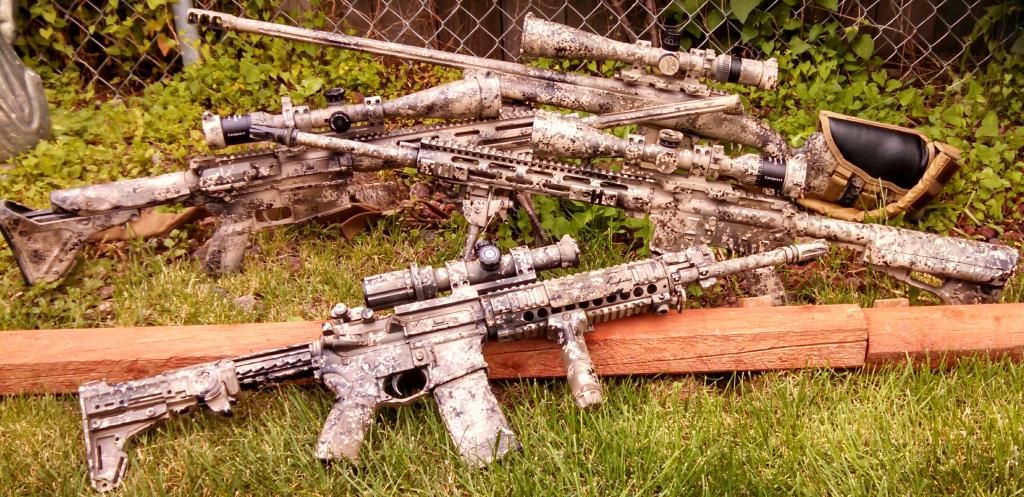
My freshly painted midlength.... 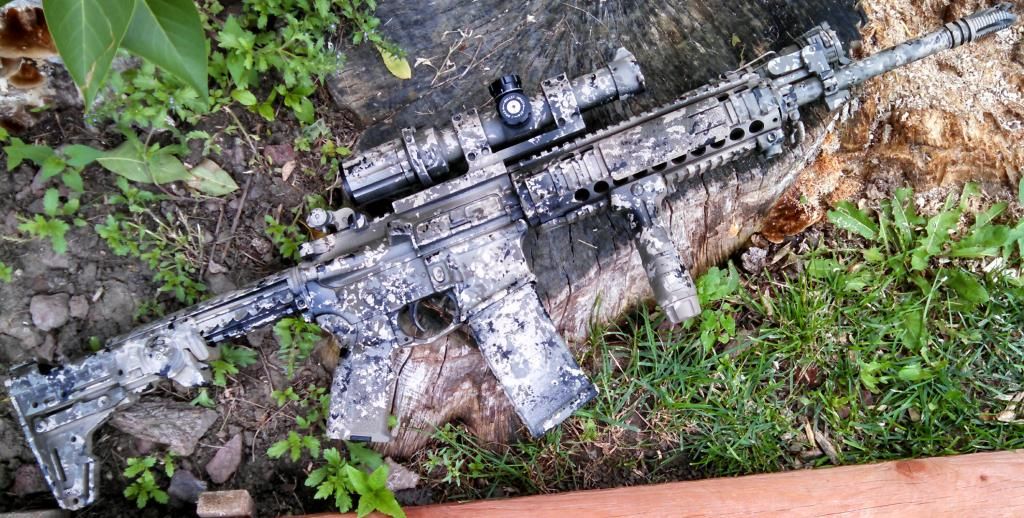
My new 20" DMR build. 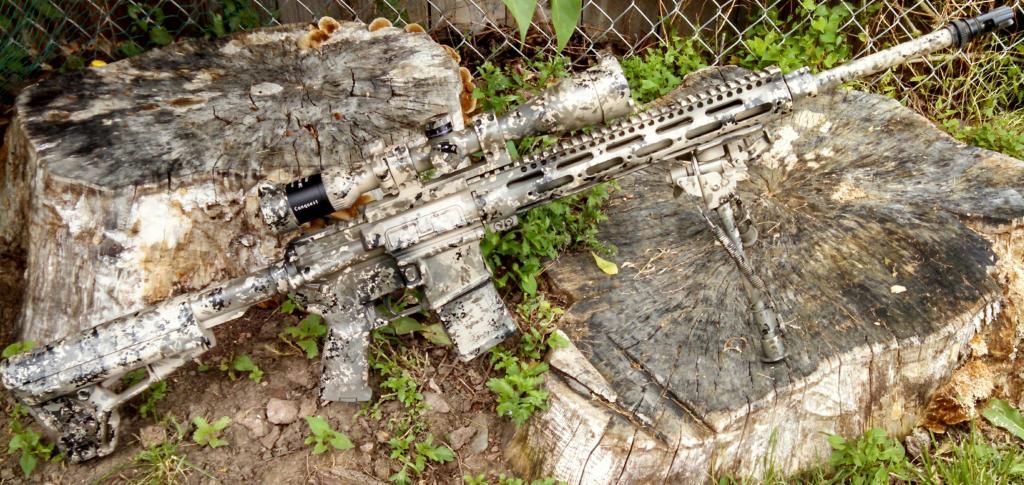
|
"Every normal man must be tempted at times to spit on his hands, hoist the black flag, and begin to slit throats."--H.L. Mencken

Here's my first go of it (Before and after). Thank you Guns762 for patiently answering my questions. Your stuff is what got me interested in the first place. I can't wait to get it into the woods where I normally hunt and see how I did. I'm not brave enough to paint the whole gun yet but will be there with more practice. There are a bunch of camo'd 2x4 now laying around here!

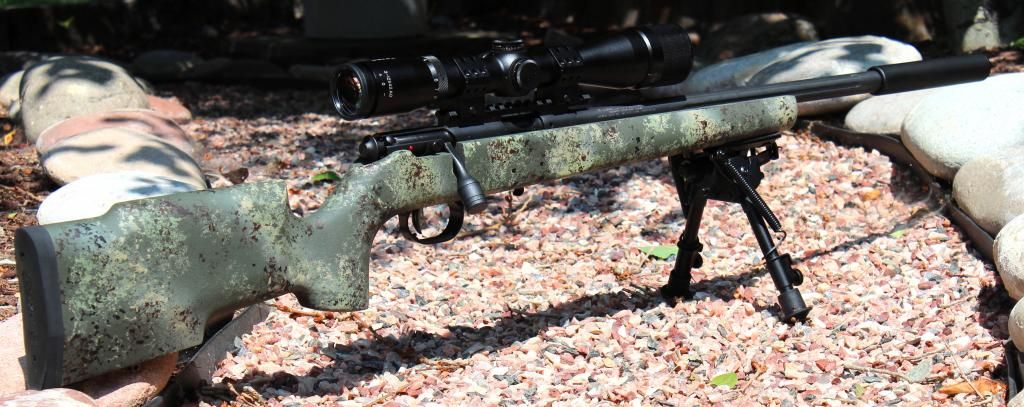


|


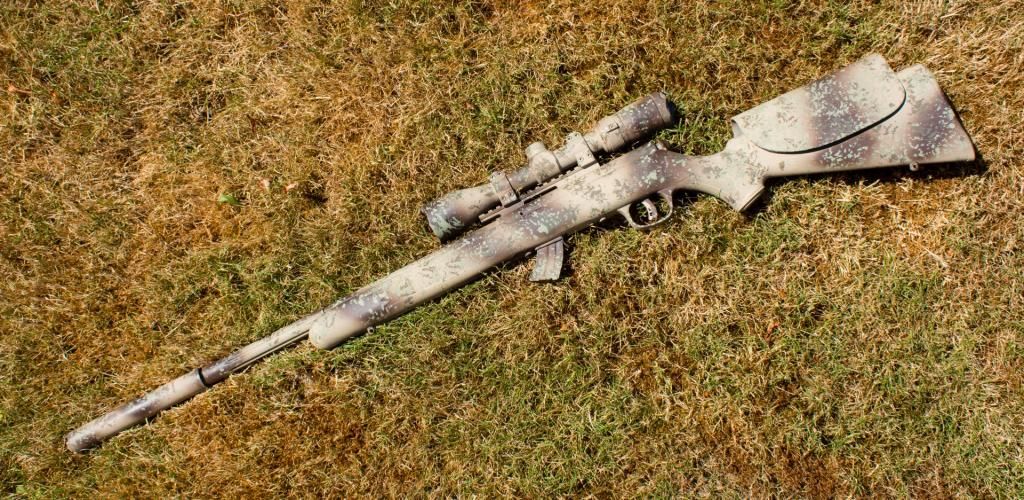
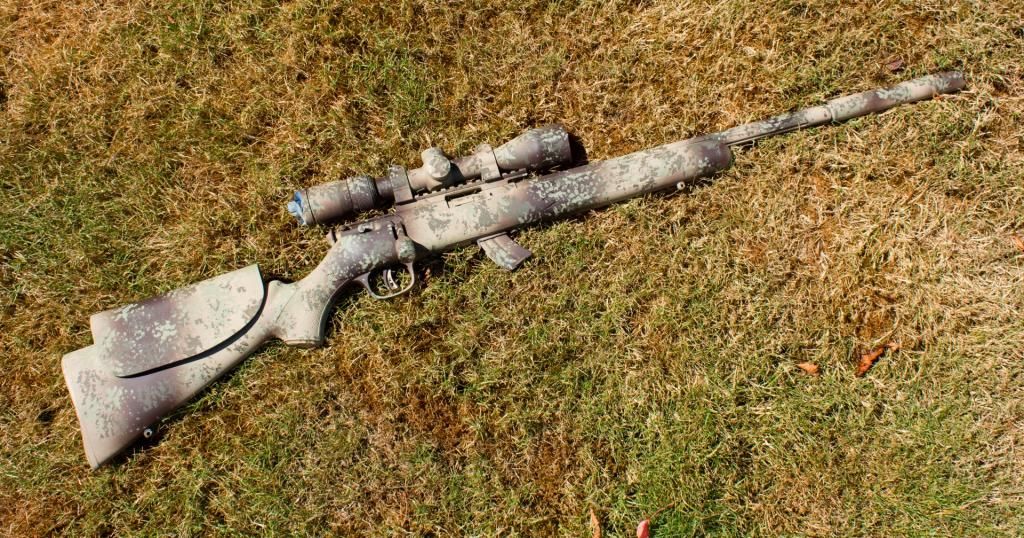
|
Originally Posted By DontBuryMe:
I don't have any pics of it in use right now, but it does pretty well out here in west Texas. http://i49.photobucket.com/albums/f297/flatline_azp/IMG_2048_zps947fe1f2.jpg http://i49.photobucket.com/albums/f297/flatline_azp/IMG_2049_zps4d782262.jpg Awesome color scheme. What colors did you use? |
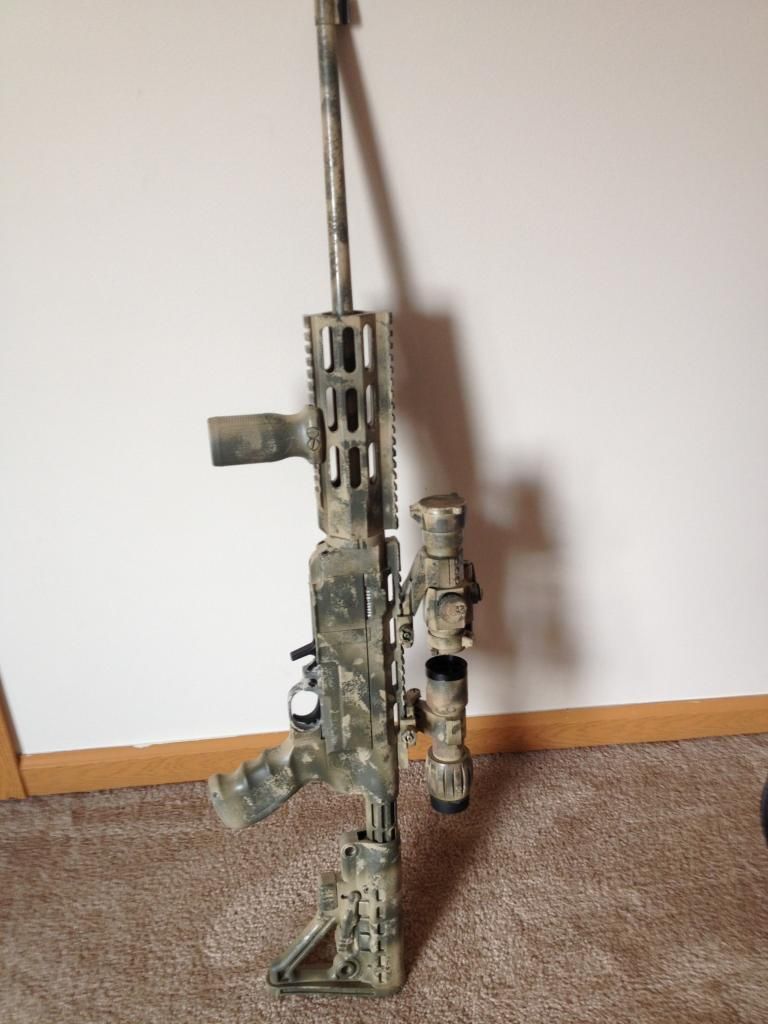 " />
" />


|
Originally Posted By Will_Power:
Damn. That turned out spectacular. What paints? Would love to see a run down on how you did that. Originally Posted By Will_Power:
Originally Posted By Kinganuthin:
So easy and so cool! http://i.imgur.com/XHVVp7V.png]http://i.imgur.com/XHVVp7V.png]http://i.imgur.com/XHVVp7V.png Damn. That turned out spectacular. What paints? Would love to see a run down on how you did that. Base OD. It was already OD with Brownells Alumahyde II.. I tore my sponge into long, slender pieces for a stripe effect. I had Vietnam tiger stripe in mind. Did diagonal stripes with Krylon Camo Khaki. Some stripes are bold, some light. Then stripes with Rustoleum Camo brown, overlapping tan some. Same with flat Black, overlapping both. Go back and forth between brown and black for some blending effect. Come back with just a little tan here and there.. speckle effect. Then just small amount of speckling with Aervoe field Drab. |


I've seen some pics in this thread where the sponge camo was applied to rubber slings. Did it take a few days for the paint to dry? I'm using Aervoe and after a few days the paint on the rubber brace is still tacky. I'm assuming it must be completely dry before I apply a clear coat?

|

|
Originally Posted By SuperV:
I used cotton balls for mine, but same concept: <a href="http://s1288.photobucket.com/user/SuperV13/media/IMG_20140719_185237051_zpsd5fa0688.jpg.html" target="_blank">http://i1288.photobucket.com/albums/b481/SuperV13/IMG_20140719_185237051_zpsd5fa0688.jpg</a> <a href="http://s1288.photobucket.com/user/SuperV13/media/IMG_20140719_185253002_zpsc42e52b2.jpg.html" target="_blank">http://i1288.photobucket.com/albums/b481/SuperV13/IMG_20140719_185253002_zpsc42e52b2.jpg</a> Wow, thats a dead ringer for ATACS |
In California, every buy is a panic buy. [img]icon_smile_shock.gif[/img]
|
Originally Posted By prcharlie:
Nice ATACs effect. Looks great! Originally Posted By prcharlie:
Nice ATACs effect. Looks great! Originally Posted By marksman121:
Originally Posted By SuperV:
I used cotton balls for mine, but same concept: <a href="http://s1288.photobucket.com/user/SuperV13/media/IMG_20140719_185237051_zpsd5fa0688.jpg.html" target="_blank">http://i1288.photobucket.com/albums/b481/SuperV13/IMG_20140719_185237051_zpsd5fa0688.jpg</a> <a href="http://s1288.photobucket.com/user/SuperV13/media/IMG_20140719_185253002_zpsc42e52b2.jpg.html" target="_blank">http://i1288.photobucket.com/albums/b481/SuperV13/IMG_20140719_185253002_zpsc42e52b2.jpg</a> Wow, thats a dead ringer for ATACS Thanks! I didn't realize it until you two said something about it. I guess its a coincidence |

|
Originally Posted By Aubie1:
I've seen some pics in this thread where the sponge camo was applied to rubber slings. Did it take a few days for the paint to dry? I'm using Aervoe and after a few days the paint on the rubber brace is still tacky. I'm assuming it must be completely dry before I apply a clear coat? <a href="http://s2.photobucket.com/user/aubie515/media/camping013_zps6e5cdeaa.jpg.html" target="_blank">http://i2.photobucket.com/albums/y21/aubie515/camping013_zps6e5cdeaa.jpg</a> I had a similar issue with the caps on my Aimpoint. The rest of the rifle was dry but the caps remained tacky for quite a while. They did eventually dry completely but I let it sit in the safe for well over a week before they were 100%. |
Let us speak courteously, deal fairly, and keep ourselves armed and ready. -Theodore Roosevelt
|
Need pic of complete rifle.Nice job. |
|
Originally Posted By cop1211:
Need pic of complete rifle.Nice job. Originally Posted By cop1211:
Need pic of complete rifle.Nice job. 

|


My first attempt, all paint was done with Krylon Camoflage paint. The pictures make it appear glossier than it is
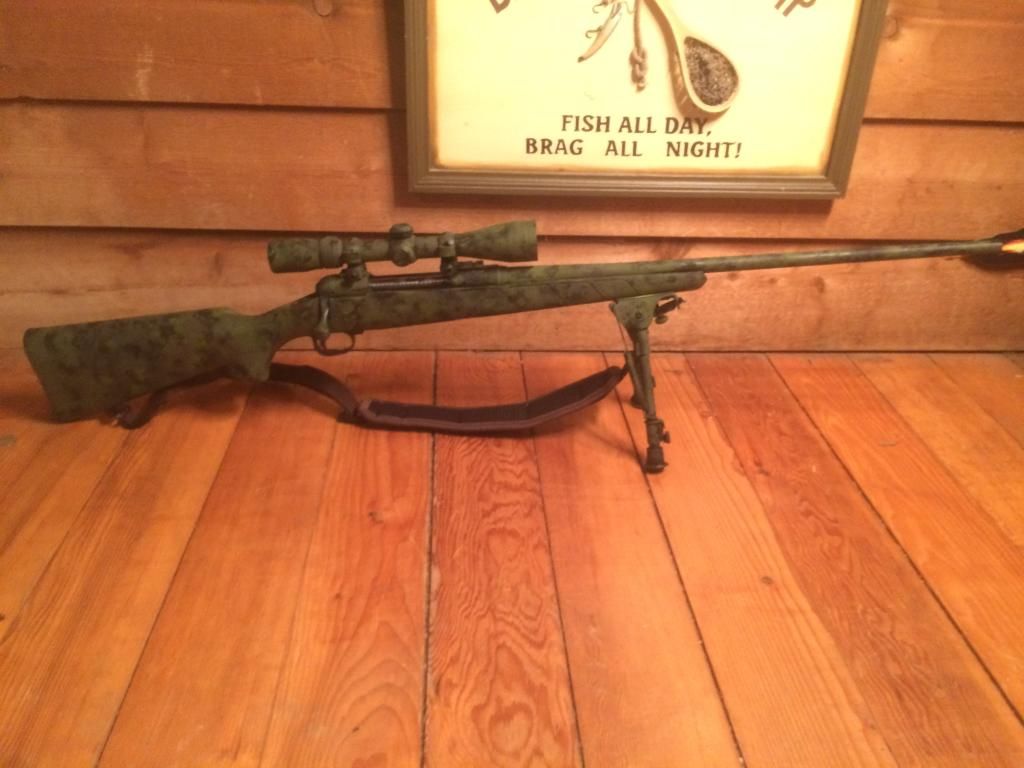
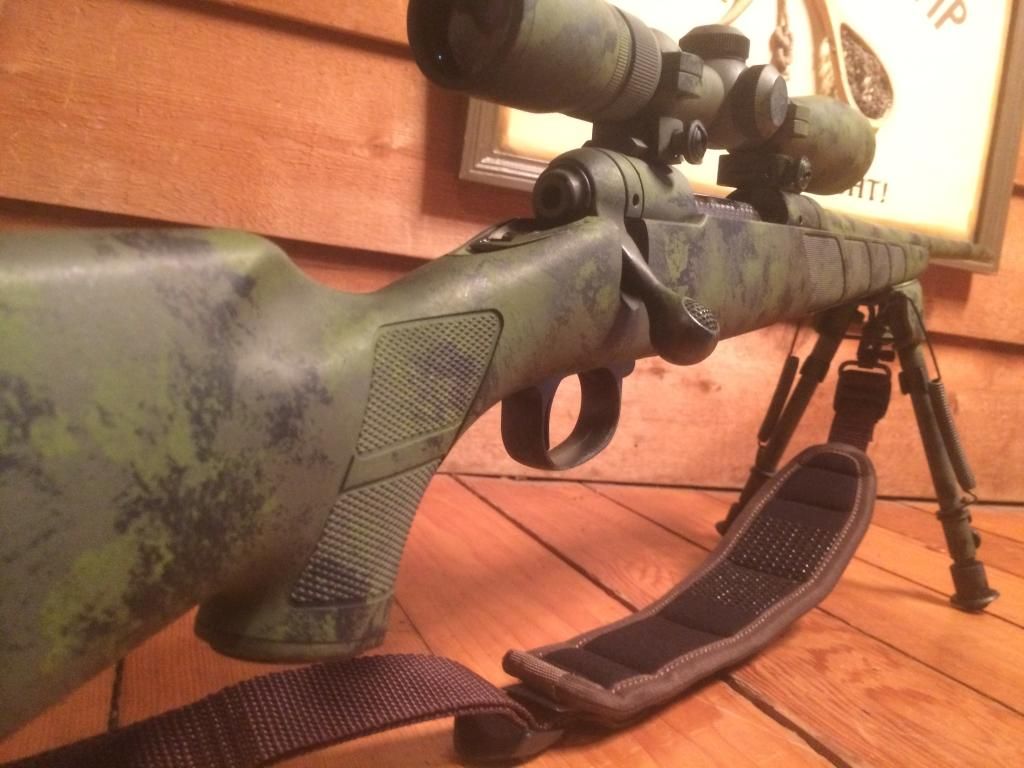
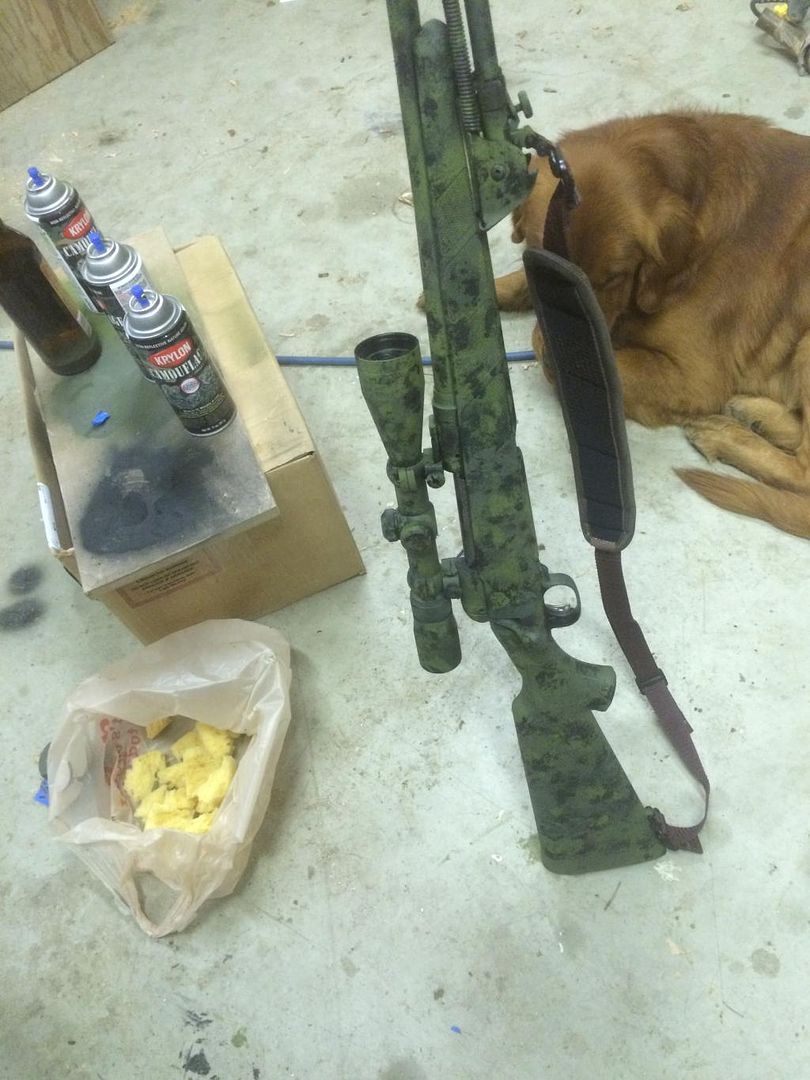
|
Originally Posted By nsw8148:
I would suck the dick of the last man inside her just to get a taste....
ARFCOM's master of unfinished projects
I would suck the dick of the last man inside her just to get a taste....
ARFCOM's master of unfinished projects
|
Originally Posted By Chadcohn:
How do you post a picture on this board? Host the image somewhere like http://imgur.com/ Then just put the link to the image inside tags like this: [img]www.imgur.com/yourimage.jpg[ /img] The only thing you should do different is not leave a space before the slash in the closing tag. I did that to "break" the tags so that you could see them. |
|
That looks amazing. Exactly how I want my shotgun to look |

Thinking about trying this on my new bolt action. 
Any info / insight on how to prep the metal? just degrease it? The paint holds up well without primer or any light sanding? |
Originally posted by: KA3B
Honestly, what in the fuck are you trying to say?
Are you typing with a Playskool keyboard or what?
NRA Member
MCRGO Member
Member IDPA
Honestly, what in the fuck are you trying to say?
Are you typing with a Playskool keyboard or what?
NRA Member
MCRGO Member
Member IDPA
Sponge Camo Tutorial (Page 7 of 10)
Armory Sponsor