|
[#1]
Disassembly:
Here's the bottom of the unit: 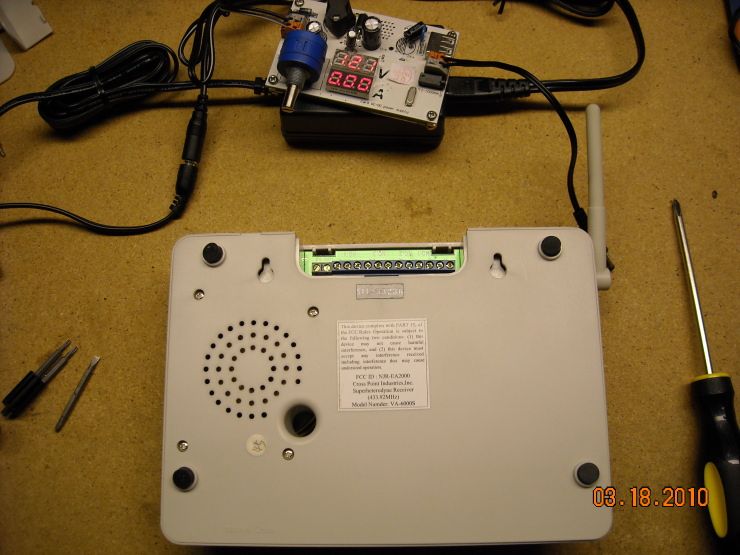
There are four screws you can see. Only removing these four won't open up the unit. 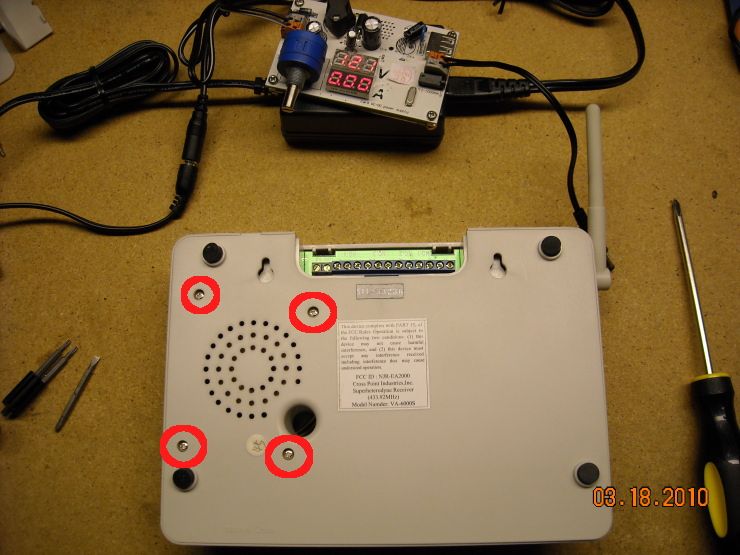
There are actually four more screws under the rubber feet. 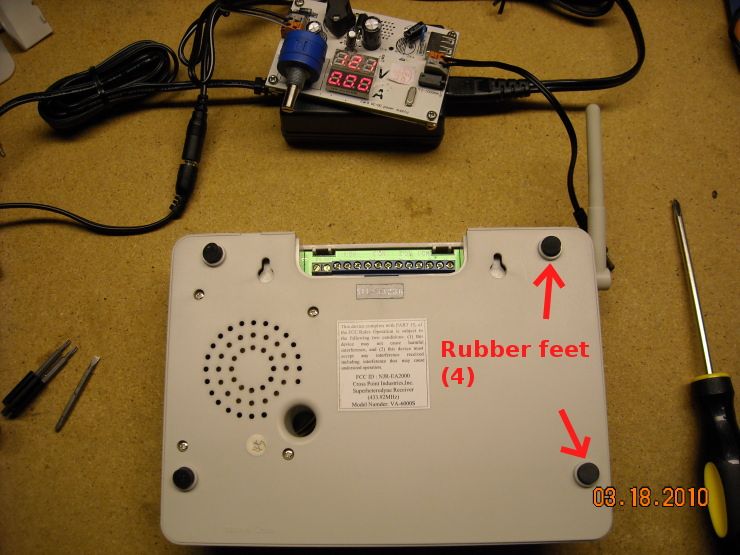
You must remove all eight screws to remove the bottom panel: 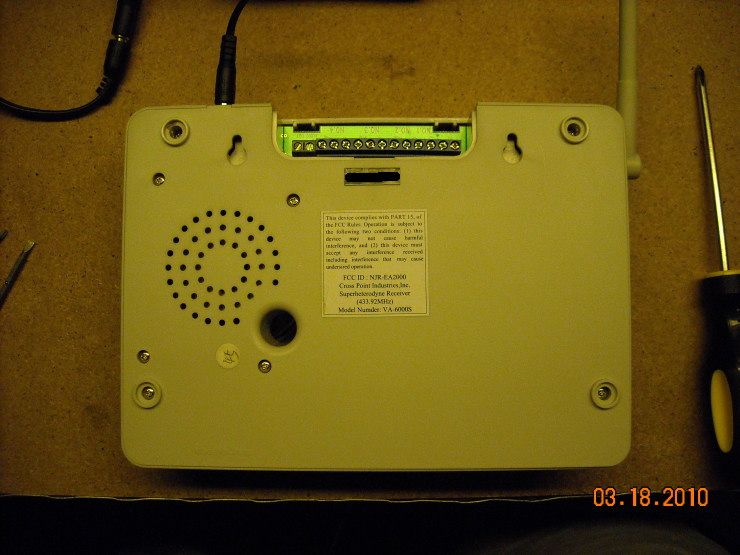
And there is it. This is a surprisingly simple device. The receiver board is marked... the logic board is the rest of it. 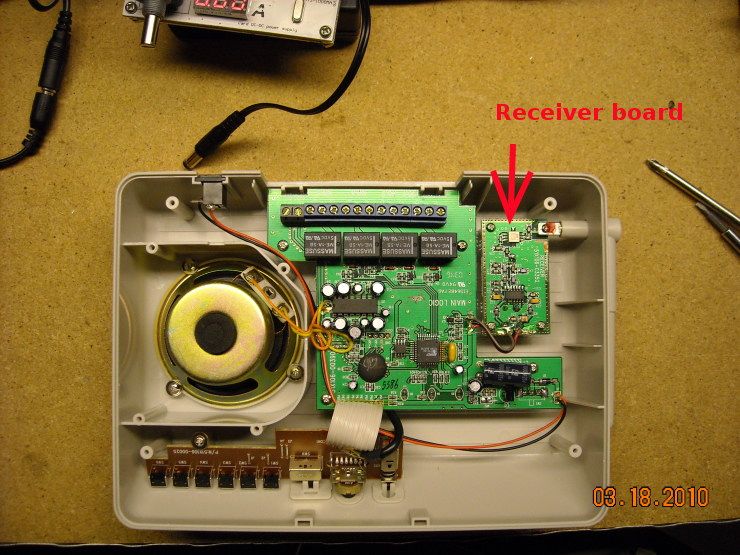
Incidentally, this unit comes with a 9VDC power supply... but runs nicely on 12VDC as well. Using a 12V PSU should allow a much greater selection of accessories for those C-Relays: 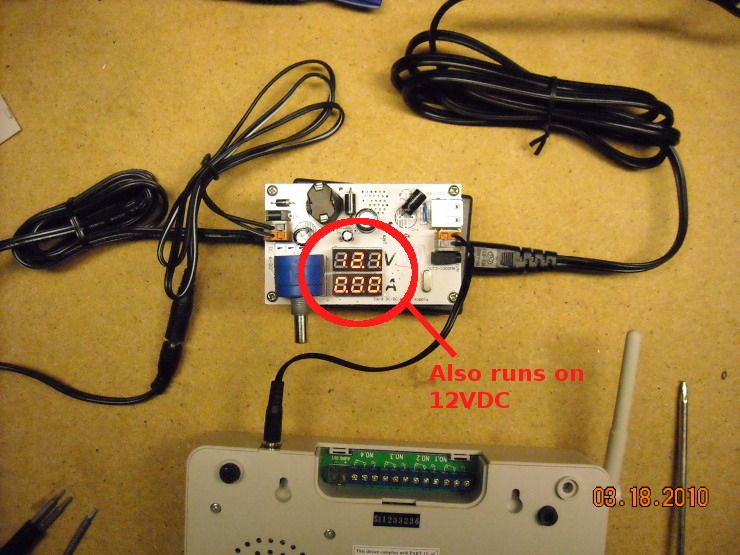
To be continued... |
|
|
|
[#2]
thanks a lot. this is very entertaining!
|
|
|
|
[#3]
I don't know if these would be any help, but they are regarded as pretty reliable as a camera flash trigger.
CTR-301 ETA, I was excited thinking that the recievers were fairly inexpensive, but I am assuming you would need the xmitter. Oh well. |
|
|
|
[#4]
Quoted:
I don't know if these would be any help, but they are regarded as pretty reliable as a camera flash trigger. CTR-301 ETA, I was excited thinking that the recievers were fairly inexpensive, but I am assuming you would need the xmitter. Oh well. Any-Cal, these come w/ the Rx and Tx and you have a good idea. They could be useful for many things: "Package Included:" 1 x Receiver 1 x Transmitter 1 x PC Sync Cable 1 x CR2 battery |
|
|
|
[#5]
I know they come with both, but you can buy the receivers alone for like $19. I just like to save money.
|
|
|
|
[#6]
Starting to play with some breadboard. Bought some regular, cheapo, Ebay dip-switches. Looks like they will handle 12VDC:
|
|
|
|
[#7]
The standard motion sensor actually has some options. You can connect a NO (normally open) or NC (normally closed) sensor to the screw-down terminals in the lower left. The circled dip-switch allows you to choose which one to set as active.
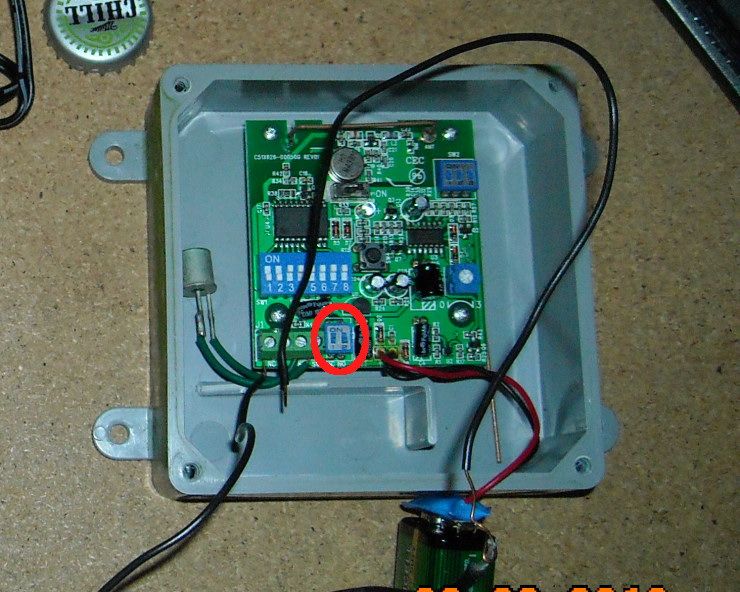
In this case, we're using a photocell as the switch. 
Here's the result: 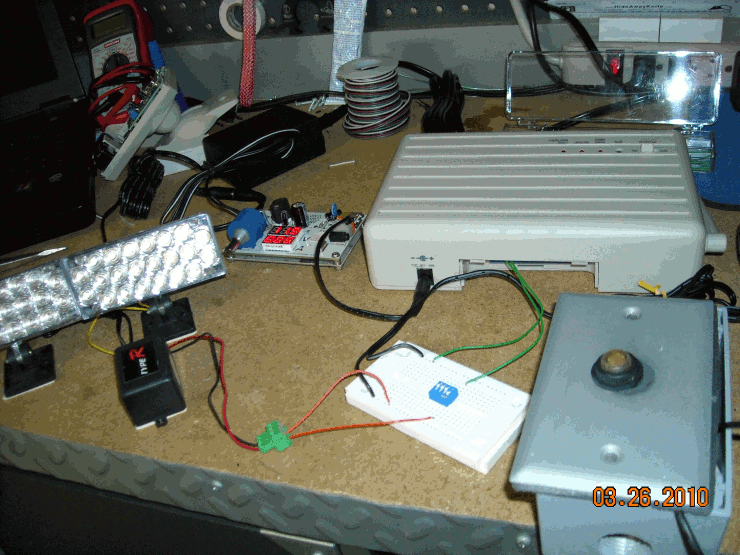
|
|
|
|
[#8]
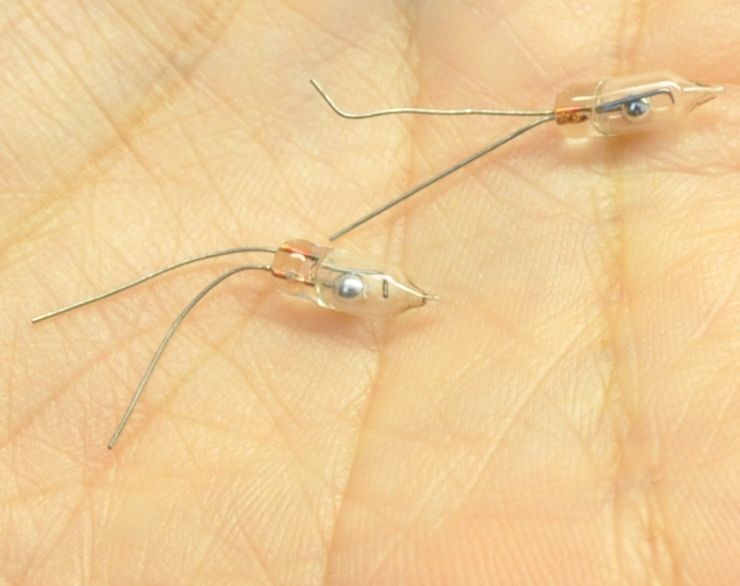
Another sensor option... mercury tilt-switches:
|
|
|
|
[#9]
Here is the mercury tilt-switch installed in place of the original vibration sensor. Now it only triggers if tilted at the correct angle:
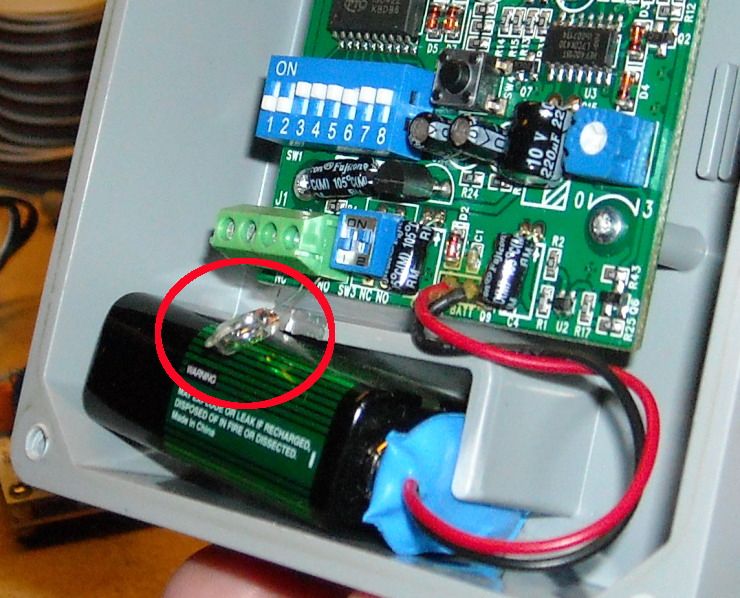
Like so: 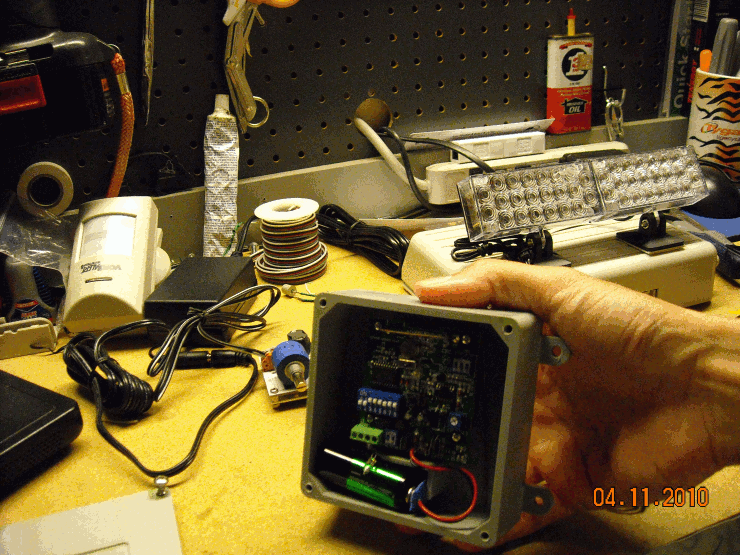
|
|
|
|
[#10]
|
|
|
 Win a FREE Membership!
Sign up for the ARFCOM weekly newsletter and be entered to win a free ARFCOM membership. One new winner* is announced every week!
You will receive an email every Friday morning featuring the latest chatter from the hottest topics, breaking news surrounding legislation, as well as exclusive deals only available to ARFCOM email subscribers.

AR15.COM is the world's largest firearm community and is a gathering place for firearm enthusiasts of all types.
From hunters and military members, to competition shooters and general firearm enthusiasts, we welcome anyone who values and respects the way of the firearm.

Subscribe to our monthly Newsletter to receive firearm news, product discounts from your favorite Industry Partners, and more.
Copyright © 1996-2024 AR15.COM LLC. All Rights Reserved.
Any use of this content without express written consent is prohibited.
AR15.Com reserves the right to overwrite or replace any affiliate, commercial, or monetizable links, posted by users, with our own.


