|
[#1]
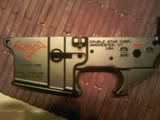
Testor and good old Hopes #9 worked great.Rob
|
|
|
|
[#2]
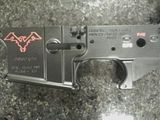
Another one for Testors and just some plain ol' Testors thinner for cleanup. Get some Microbrushes and take your time. I've done 4 and they all look nice. I do have to redo the tan. It's not quite the same color as my other accessories.
http://farm4.static.flickr.com/3639/3691601427_52380a97d7_o.jpg http://farm3.static.flickr.com/2477/3691595787_b0da7e0f26_o.jpg |
|
|
|
[#3]
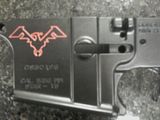
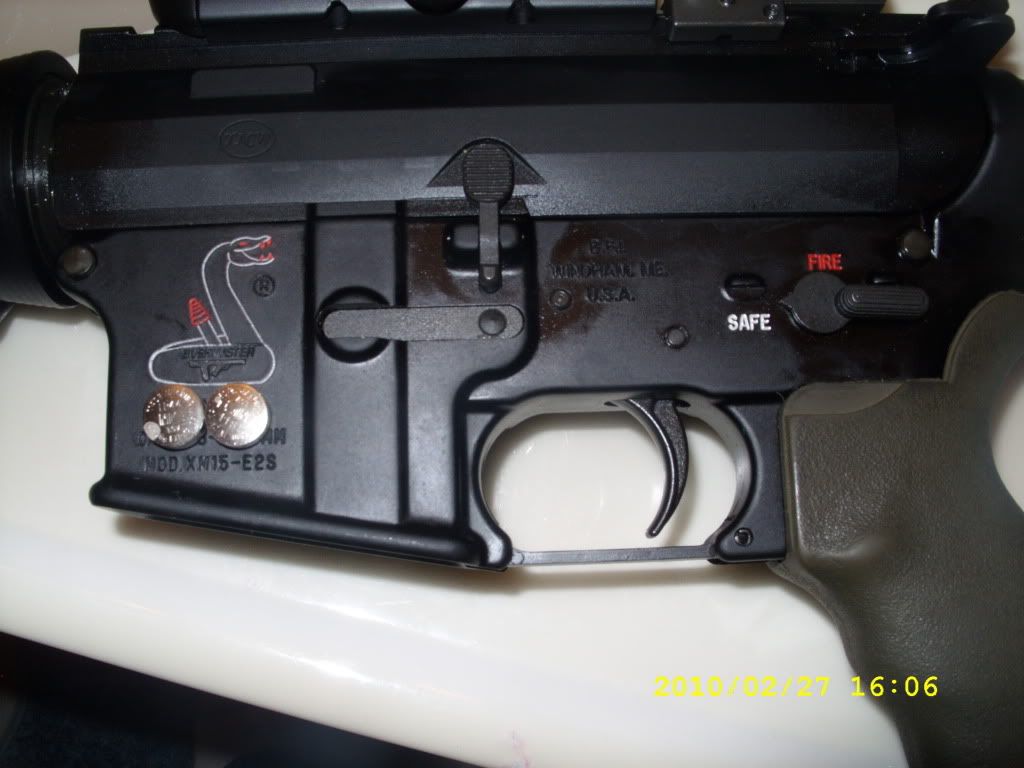
Quoted: I'm reasonably happy with my first attempt:  and this should be a sticky. You painting looks very nice but your SAFE and FIRE bullets coloring appear to be backwards in my mind and I do understand the stop and go principle. I was always taught that RED is DEAD. |
|
|
|
[#4]
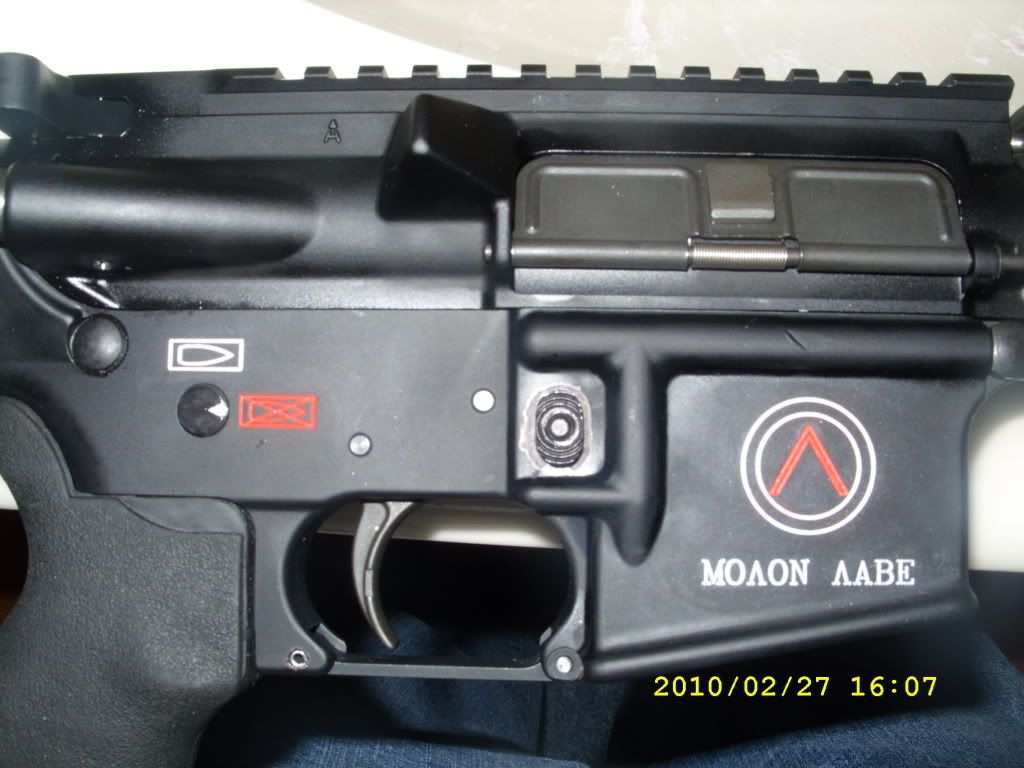
Changed the coloring of some of my rollmarks...
Went from white to grey: 
Went from white to olive drab green: 
Went from flat tan to gloss black: 
|
|
|
|
[#5]
Quoted:
You painting looks very nice but your SAFE and FIRE bullets coloring appear to be backwards in my mind and I do understand the stop and go principle. I was always taught that RED is DEAD.[/span] As a cop red means stop and green means go. I just wanted to be different. |
|
|
|
[#6]
I tried coloring my lower today. I'm not crazy about either color I went with. But this was just testing today.
I may keep the fire red and just change the yellow to white tomorrow. http://i714.photobucket.com/albums/ww144/guelster/lower.jpg http://i714.photobucket.com/albums/ww144/guelster/lower2.jpg http://i714.photobucket.com/albums/ww144/guelster/lower3.jpg http://i714.photobucket.com/albums/ww144/guelster/lower4.jpg |
|
|
|
[#7]
Has anyone every tried coloring their lower with a small can of Rust-Oleum? I see people buying different paints from Wal Mart to Hobby Shops, I was thinking Rust-Oleum is cheap in stores like Home Depot & Lowes. I think it is like $4.00 for a quart or something like that. I am just wondering if it will hold up?
|
|
|
|
[#8]
Quoted:
Has anyone every tried coloring their lower with a small can of Rust-Oleum? I see people buying different paints from Wal Mart to Hobby Shops, I was thinking Rust-Oleum is cheap in stores like Home Depot & Lowes. I think it is like $4.00 for a quart or something like that. I am just wondering if it will hold up? Most of these painted AR's in here are trial and error. Try the Rustoleum and let us know how it goes. |
|
|
|
[#9]
I've seen a couple of rifles that were painted with Rustoleum and Krylon. They had normal use with reasonable care. The paint didn't live very well on it's intended environment. I think if you were to use a lightweight product like Simple Green to clean the surfaces and were cautious in its upkeep you could get some mileage out of it but I wouldn't like having to be that careful. Products like DuraCoat or some of bake on gun paints offer a variety of colors and were designed for the application. If I were going the rattle can route I would start looking here. These paints cost significantly more per can relatively speaking but are still fairly inexpensive. Having to strip a paint that didn't hold up well and repaint would be much more expensive from a labor stand point.
|
|
|
|
[#10]
I just tried this to see if I could actually make it work. I think it came out alright, but I'll probably end up re-doing it later. For paint I used some white sight paint primer that I had handy.

|
|
|
|
[#11]
I've got another method that might interest you.
Instead of using a brush I just smeared enough to fill the target rollmark with my finger and then wiped the flat clean with a clean finger. The first problem I encountered was when wiping the excess a very small amount of paint dried on the flat around the roll mark very quickly because there was such a thin layer of paint left. It took some effort to remove. I solved this problem by smearing a small amount of Hoppes #9 over the target roll mark first - not enough to flow into the roll mark just enough to wet the flat around it. I then did the finger smear again and wiped the excess away with my clean finger. The slight film of extra unwiped paint did not dry this time due to the #9 being put down first. I followed up with a gun patch wipe around the rollmark to finish. I will wipe down the entire lower tomorrow after the paint has cure some. BTW I just used acrylic art paint from walmart. I'll post pics later in the week. |
|
|
|
[#12]
looked through whole thread............most pics look great and some not so................anyways, I have a POF upper, how can I take off the POF white logo with out damaging the black finnish?
I kinda want to go opposite.......all black, or some form of.......dont want the zombies zeroing in on that huge POF logo while I'm hiding in the bushes Not trying to hijack thread, just figured a removal question would fit in with all the apply questions |
|
|
|
[#13]
Quoted:
looked through whole thread............most pics look great and some not so................anyways, I have a POF upper, how can I take off the POF white logo with out damaging the black finnish? I kinda want to go opposite.......all black, or some form of.......dont want the zombies zeroing in on that huge POF logo while I'm hiding in the bushes Not trying to hijack thread, just figured a removal question would fit in with all the apply questions Try some CLP or automotive brake cleaner. If those don't remove the white then it probably won't come out easily if at all. |
|
|
|
[#14]
Quoted:
I've got another method that might interest you. Instead of using a brush I just smeared enough to fill the target rollmark with my finger and then wiped the flat clean with a clean finger. The first problem I encountered was when wiping the excess a very small amount of paint dried on the flat around the roll mark very quickly because there was such a thin layer of paint left. It took some effort to remove. I solved this problem by smearing a small amount of Hoppes #9 over the target roll mark first - not enough to flow into the roll mark just enough to wet the flat around it. I then did the finger smear again and wiped the excess away with my clean finger. The slight film of extra unwiped paint did not dry this time due to the #9 being put down first. I followed up with a gun patch wipe around the rollmark to finish. I will wipe down the entire lower tomorrow after the paint has cure some. BTW I just used acrylic art paint from walmart. I'll post pics later in the week. yep, i sue the finger method as well...then use barrle cleaner to remove the thin layer. PS guys i like all the different color ones, looks kinda cool... I have also switched from using white to grey, i think it looks better |
|
|
|
[#15]
Quoted:
Quoted:
I've got another method that might interest you. Instead of using a brush I just smeared enough to fill the target rollmark with my finger and then wiped the flat clean with a clean finger. The first problem I encountered was when wiping the excess a very small amount of paint dried on the flat around the roll mark very quickly because there was such a thin layer of paint left. It took some effort to remove. I solved this problem by smearing a small amount of Hoppes #9 over the target roll mark first - not enough to flow into the roll mark just enough to wet the flat around it. I then did the finger smear again and wiped the excess away with my clean finger. The slight film of extra unwiped paint did not dry this time due to the #9 being put down first. I followed up with a gun patch wipe around the rollmark to finish. I will wipe down the entire lower tomorrow after the paint has cure some. BTW I just used acrylic art paint from walmart. I'll post pics later in the week. yep, i sue the finger method as well...then use barrle cleaner to remove the thin layer. PS guys i like all the different color ones, looks kinda cool... I have also switched from using white to grey, i think it looks better I used grey instead of white too. White was too brite. It IS a gun after all. |
|
|
|
[#16]
this is a great thread...
Sticky !!?!! |
|
|
|
[#17]
Has anyone color filled the t-marks on an upper?
|
|
|
|
[#18]
Yep, used Elmers paint pen, let dry15-20 min and wipe excess off with Hoppes #9.
|
|
|
|
[#19]
Quoted:
Yep, used Elmers paint pen, let dry15-20 min and wipe excess off with Hoppes #9. Have any pics? |
|
|
|
[#20]
Have any of you guys found a match for the Magpul Flat Dark Earth in the Testors or any other brand?
|
|
|
|
[#21]
Here are my painted T marks. I used a toothpick to apply the Testor paint.

I let the paint dry for about 12 hours. I then wet a cleaning patch with paint thinner and wrapped it around a toothpick. I used this to remove the excess paint by first wiping up/down along the length of the receiver then left/right to get into the corners. As it's been said before, the toothpick helps to prevent pulling too much paint out of the T marks. It helps to flip or roll the patch a bit after every few strokes so that you have a clean patch and are not just smearing paint around. 
I was mainly interested in painting the T marks and the Safe/Fire marks, but on a whim I painted the logo, manufacturer, and caliber mark as well. I used the same technique as above. 
I'm not sure how much I like the logo, manufacture, and caliber mark painted. I'll probably remove it. But I think it came out OK. 
A day later, I wiped everything down with Hoppes 9 to remove any residual paint and then wiped it with a small amount of lube to protect the finish and give it back it's sheen. |
|
|
|
[#22]
In case anyone is interested in the colors I used. Here they are:

|
|
|
|
[#23]
I took the advise and tips from everyone here - thanks! I used Testors model paints and applied it with a toothpick. I wish I had started with a darker color instead of the white until I learned how to do it, but I'm pretty happy with the result.
http://i930.photobucket.com/albums/ad149/mteifke/M4009.jpg |
|
|
|
[#24]
You guys are a bad influence... LOL.

That's Testors flat medium gray. I was afraid the ArmaLite logo would be too shallow or too fine to get a good fill, but it turned out nice. The photo didn't turn out so nice, though. 
|
|
|
|
[#25]
Y'all have done some nice work, there. It's great to think outside the box, but sometimes it's good to remember where the box is, and usually, it's at Brownell's.
Unless you want a work of art requiring eleventy-seven colors, you might consider a simple solution designed for this purpose: Laquer Stik, $4.99 per stick. Takes a few minutes, no mess, no brushes, nothing to spill or run. Rub it in, wipe off the excess with a little mineral oil and a rag. Once it dries, it's on there. Red 517-100-001 white 517-100-002 gold 517-100-003 black 517-100-004 [ETA link: http://www.brownells.com/.aspx/cid=1291/k=/t=S/Products/Inlay_Color_Fill_Sticks]  |
|
|
|
[#26]
In my opinion..paint pens get it done a whole lot faster. AND less matterials. paint pen & gun scrubber work PERFECT for me
|
|
|
|
[#27]
tag
|
|
|
|
[#28]
so just out of curiosity, why not just use nail polish. im sure the wives and girlfriends have plenty available. and could save us a few bucks
|
|
|
|
[#29]
so just out of curiosity, why not just use nail polish. im sure the wives and girlfriends have plenty available. and could save us a few bucks
|
|
|
|
[#30]
Quoted:
so just out of curiosity, why not just use nail polish. im sure the wives and girlfriends have plenty available. and could save us a few bucks There have been several posts in the color fill threads where people have used nail-polish. If you have the right colors lying around, go for it. If you are using acrylic nail polish, I believe you would need to use water as a thinner, whereas if it is an enamel, oil based nail-polish, you would need to use a paint thinner. That's one of the downsides I see, is that it may be too thick to use the "run in" paint method, and it may be difficult to tell what to thin it with. Testors paint is cheap as dirt at most craft stores and it thins nicely with paint thinner. I'm not sure how nail polish would hold up compared to regular paint, but you could always reapply if necessary. |
|
|
|
[#31]
OD and Coyote DuraCoat laid in with a toothpick. In between coats on another project, I decided to do this fill. Excess was wiped with a cleaning patch moistened with TruStrip stretched over a small block after the DuraCoat set up a little.
ETA: crappy cell phone pic 
|
|
|
|
[#32]
I just finished painting a Smith and Wesson lower. I used Testor's enamel flat white and insignia red, ordered it all through their website. I use q-tips to apply the paint through the roll markings. I let it dry for 4 hours. Then I used a gun cloth wrapped around a toothpick with a little brake cleaner on it and got most of the initial excess paint off. Then I used regular gun oil on a tee shirt to take off the residue and finish it off perfect. I think it looks really good. Thanks for the info. I'll post pics up tomorrow. Let me know what you think.
|
|
|
|
[#33]
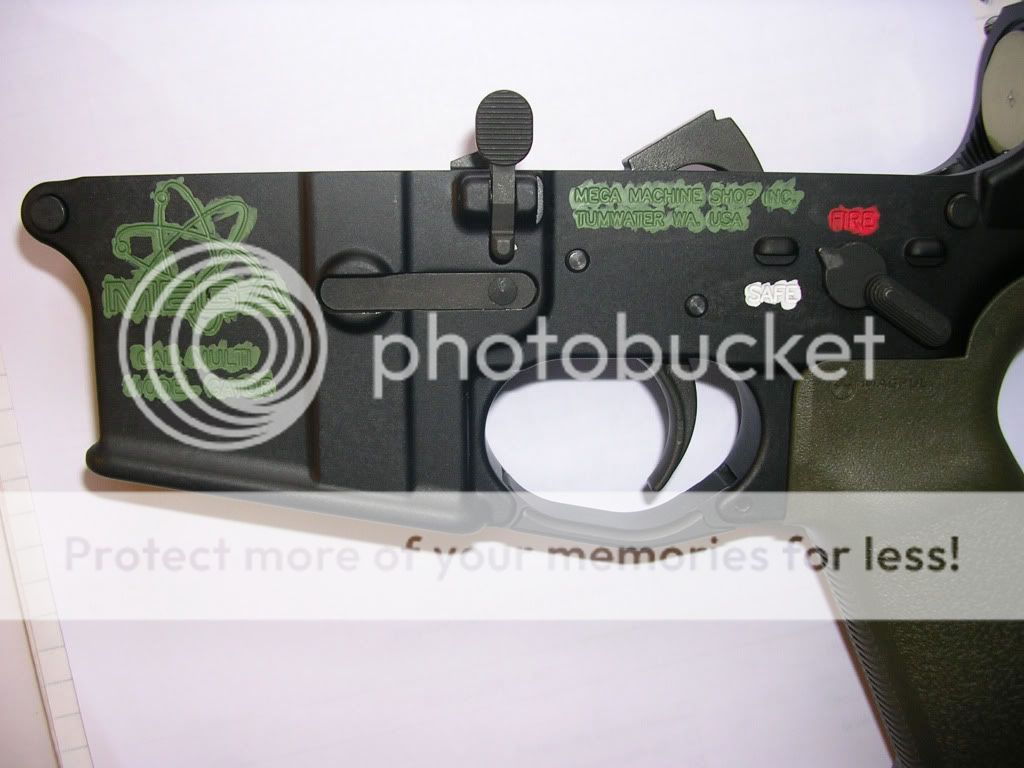
While we're all showing off our shit, I thought I'd add my new Mega to the batch.
http://dl.dropbox.com/u/623607/rollmarks.jpg Though the color difference doesn't show up real well, most of the rollmarks are done in metallic silver acrylic, with white on the "safe" marking and gloss red on the "fire" mark. Very very pleased with how it turned out. |
|
|
|
[#34]
I use the paint pens from "Wally World". After filling the engraving, I hit it with a blow dryer for a few munute until the paint dulls some and then clean up the excess carefully with q-tips and laquer thinner. To put color back into the anodizing, I rub in a light coast of CLP and rub it out.
|
|
|
|
[#35]
Looking good, mightysam. I think Mega rollmarks look the best. My next couple of lowers might have to be Megas.
|
|
|
|
[#36]
|
|
|
|
[#37]
My turn. I used acryllic artist paint. Said would be good on metal, we'll see how hardy it is. It didn't want to stick in the shallower marks. I used lipstick red, pearl white and medium grey. My pictures suck, but here they are.
and one of them playing nice together... 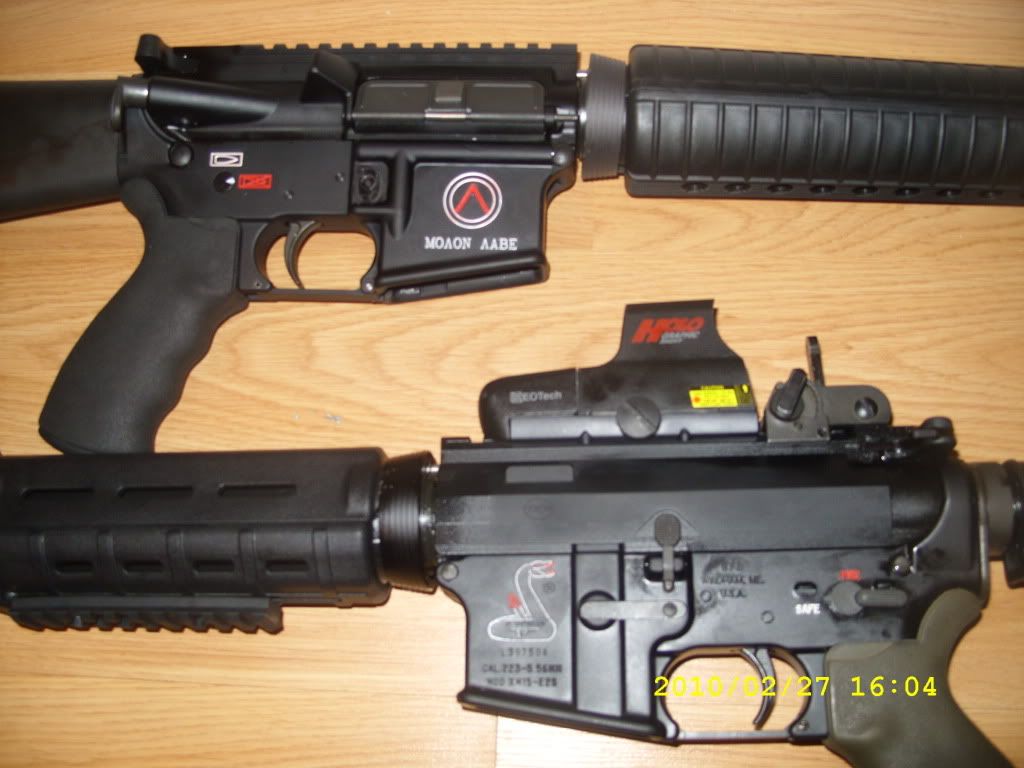
Oh and STICKY?!? Just noticed I did red and white differently on the pictogram and fire/safe versions.... |
|
|
|
[#38]
Ok, so i just finished my Spikes lower. I used Testors paint, and it turned out great. Im going to let it dry for a few days.
Will it be safe to use CLP on this lower when I put it together? What about gunscrubber? (provided i dont spray it directly onto the color fill areas) thanks to all those that contributed, some great tips and nice work in this thread. Ok, I answered my own question. Gun scrubber will still remove even dried paint. CLP, however did not. |
|
|
|
[#39]
Used Testor's enamel on my new Stag 8. White and red for safe and fire rollmarks. I used metallic silver for the rest. Looks great and was easy to do (followed directions from this thread). Metallic paint was a lot thinner. Need to wait longer for that to dry before wiping down gun. Really pleased with the outcome.
|
|
|
|
[#40]
Finally decided to color fill my AR. used Testors OD green and some random acrylic white paint i had around. Originally i had FIRE in red, but decided to go for OD. Its darker than it looks like in the photos, and it it looks closer to STAG's green.
All i did was generously apply with a toothpick so it filled all marks, wait for about 30 seconds, then wipe away with tissue. I used some testors paint thinner to get the smeared paint off my AR. After about 10 minutes, when it was dry, i lightly covered a Q-tip in testors brush cleaner, and went over the roll marks so that only the grooves had paint, and none of the raised areas did. Worked like a char, and looks great in person (not so sure about the photos since i took em with my phone). http://i117.photobucket.com/albums/o61/ZLINDwALRUS/0407002315.jpg http://i117.photobucket.com/albums/o61/ZLINDwALRUS/0407002314-2.jpg |
|
|
|
[#41]
My DSA Blemished lower

|
|
|
|
[#42]
Quoted:
My DSA Blemished lower aaaahhhhhhh... where's the blem?!? Looks perfect to me!!! 
|
|
|
|
[#43]


getting my Mega roll on... |
|
|
|
[#44]
I have used nail polis with great results. Very resistant to oils, bug spray, sun screen etc... and can be easily dissolved out with acetone.
|
|
|
|
[#45]
I'm another for using testors model paint. With mine i used a toothpick with a drop on the end and just let it run into the roll marks. Before it dried I soaked up the big puddles by gently wiping a q-tip over the paint til i got most of it up. I also let mine dry over night then just used testors paint thinner on some of my wifes cotton make up disk thingies and wiped very gently never going over it with the same part of the cotton disk more than twice before using a clean part, you need very little thinner to do the job so don't soak the thing. From seeing the different paint jobs on the different brands of uppers and lowers, the quality and depth of the roll marks make a big difference.
Before.. http://i940.photobucket.com/albums/ad248/pwizl/new%20ar/P1050502.jpg During, after cleaning up access with q-tip.. http://i940.photobucket.com/albums/ad248/pwizl/new%20ar/P1050516.jpg http://i940.photobucket.com/albums/ad248/pwizl/new%20ar/P1050517.jpg After, took a stab at the color, I used brass, and I like the way it turned out.. http://i940.photobucket.com/albums/ad248/pwizl/new%20ar/P1050520.jpg http://i940.photobucket.com/albums/ad248/pwizl/new%20ar/P1050520-1.jpg http://i940.photobucket.com/albums/ad248/pwizl/new%20ar/P1050520-2.jpg |
|
|
|
[#46]
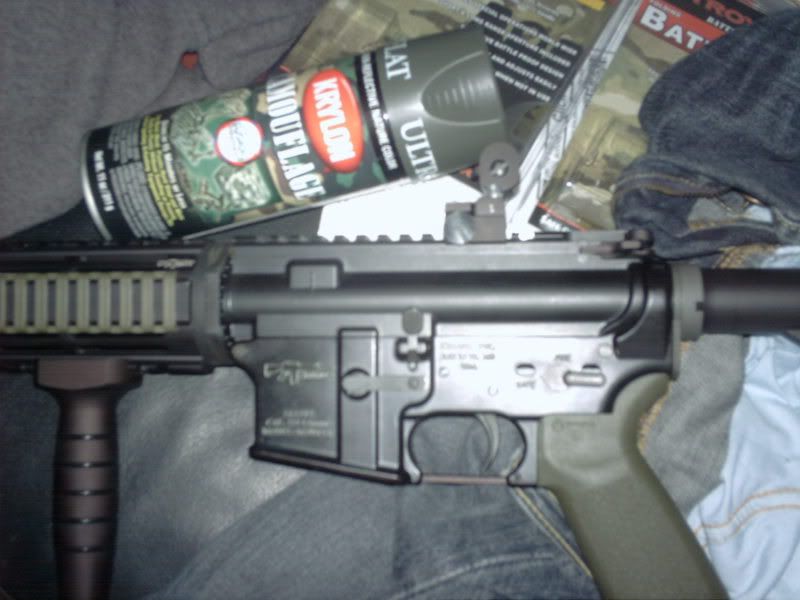
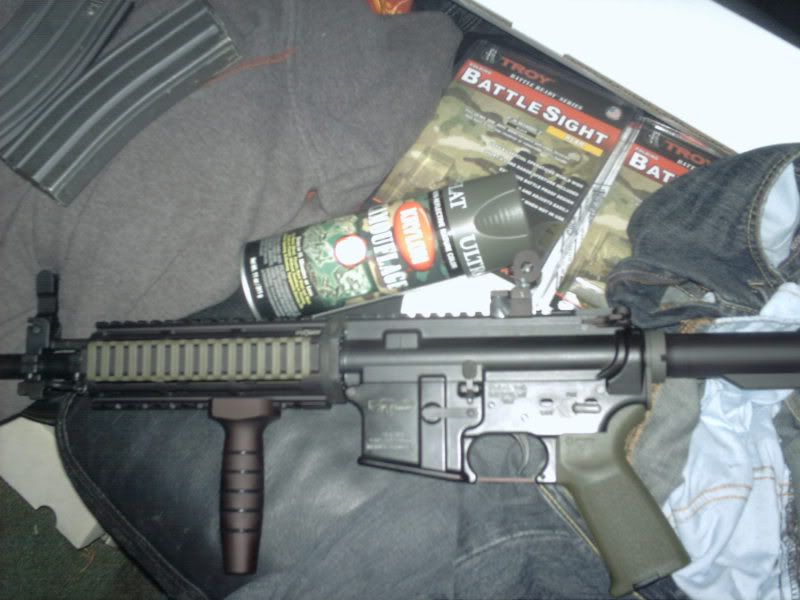
I was easier then i thought. I used the camo krylon in the pic. Sorry for the bad pics.
|
|
|
|
[#47]
Quoted:
Quoted:
My DSA Blemished lower aaaahhhhhhh... where's the blem?!? Looks perfect to me!!! Under sunlight it has a very slightly mottled look to the finish. Also it seems this particular serial number range has a problem with some magazine release buttons I've had the lower built up and will post pictures some time next week |
|
|
|
[#48]
Under sunlight it has a very slightly mottled look to the finish. Also it seems this particular serial number range has a problem with some magazine release buttons I've had the lower built up and will post pictures some time next week You wouldn't know it from your pic. Looks clean and flawless and I hope you are laughing all the way to the bank for what you spent!!!. Looking forward to the build pics! 
|
|
|
|
[#49]
I used a white crayola. Very simple to do. Just smash the crayola into the area you want colored until its filled, then take a cloth with CLP and wipe off all the excess. I have shot about 500rds out of my rifle and cleaned it several times and it still looks the same as when I first did it.
|
|
|
|
[#50]
I'm still waiting on my RR lower receiver, and my plans to fill in the markings is to use the automotive touch up paint tubes with the brush/roller ball combo. I have done this on a few car parts with good results, so I figured I would try the same on my new SBR. It may be a few more weeks, but I will post pics as soon as I am done.
Ron ...Semper Fidelis... |
|
|
 Win a FREE Membership!
Sign up for the ARFCOM weekly newsletter and be entered to win a free ARFCOM membership. One new winner* is announced every week!
You will receive an email every Friday morning featuring the latest chatter from the hottest topics, breaking news surrounding legislation, as well as exclusive deals only available to ARFCOM email subscribers.

AR15.COM is the world's largest firearm community and is a gathering place for firearm enthusiasts of all types.
From hunters and military members, to competition shooters and general firearm enthusiasts, we welcome anyone who values and respects the way of the firearm.

Subscribe to our monthly Newsletter to receive firearm news, product discounts from your favorite Industry Partners, and more.
Copyright © 1996-2024 AR15.COM LLC. All Rights Reserved.
Any use of this content without express written consent is prohibited.
AR15.Com reserves the right to overwrite or replace any affiliate, commercial, or monetizable links, posted by users, with our own.